Step by Step: Movie

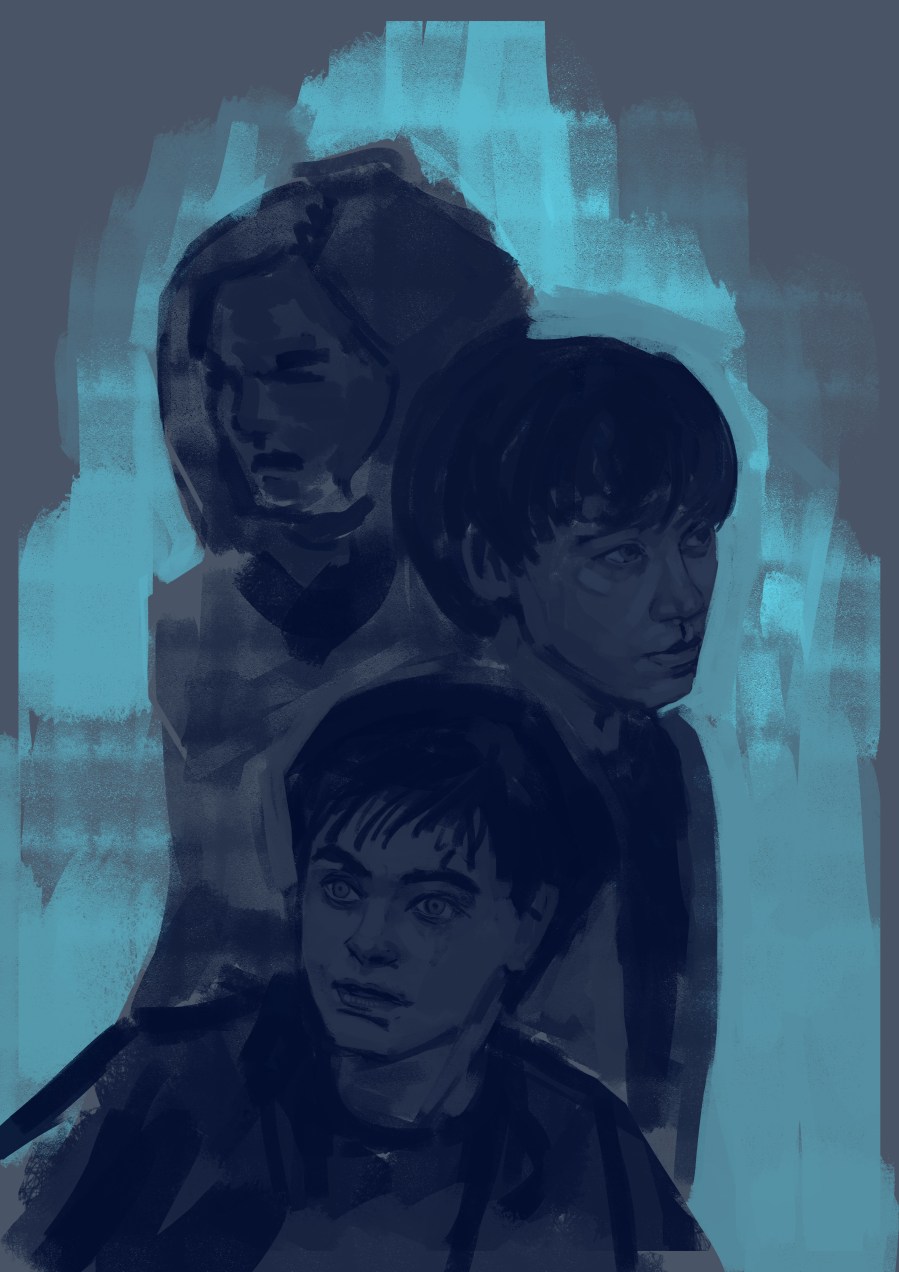
Day 11 was Movie, which gave me a perfect opportunity to draw my favourite characters: Harry, Ron and Hermione!

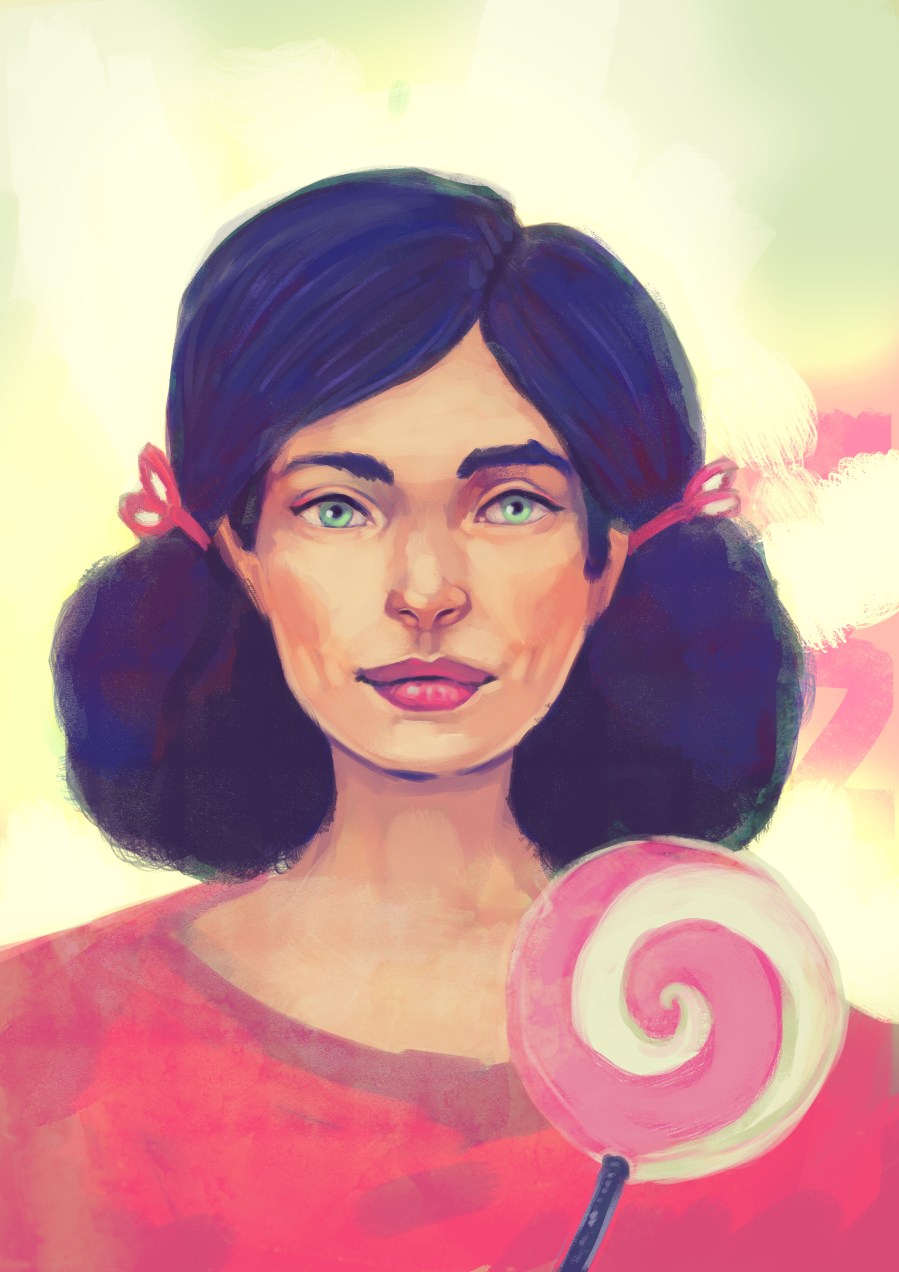
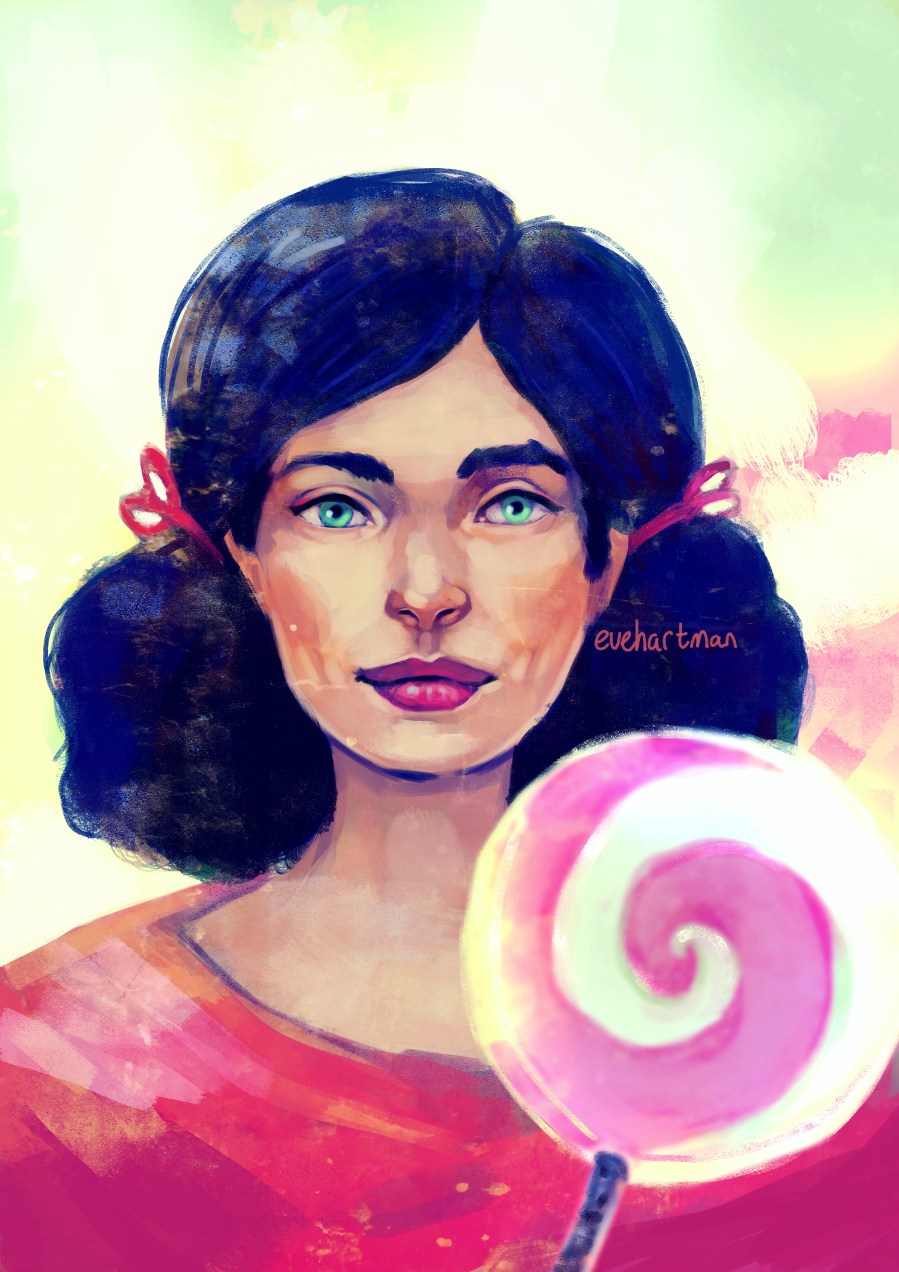
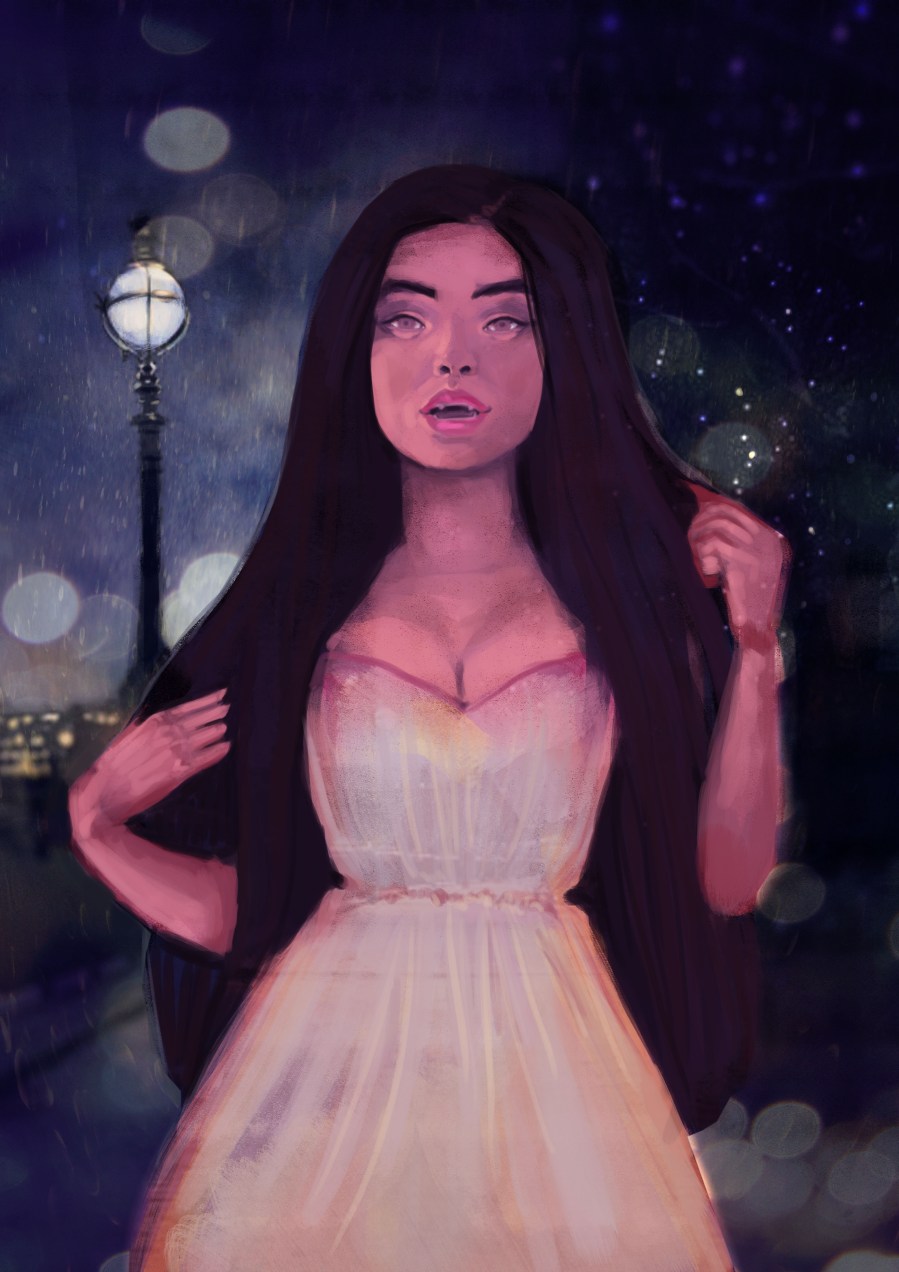
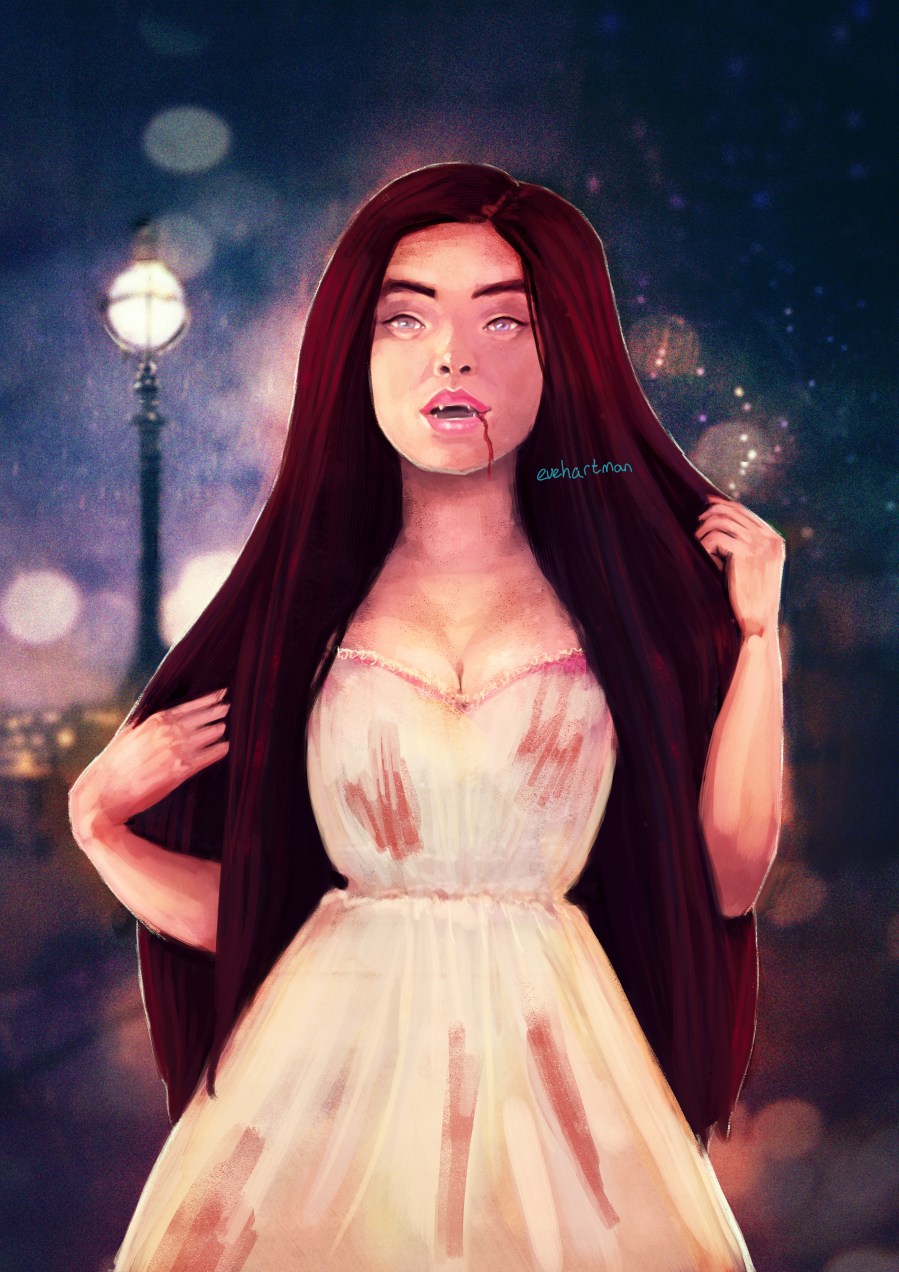
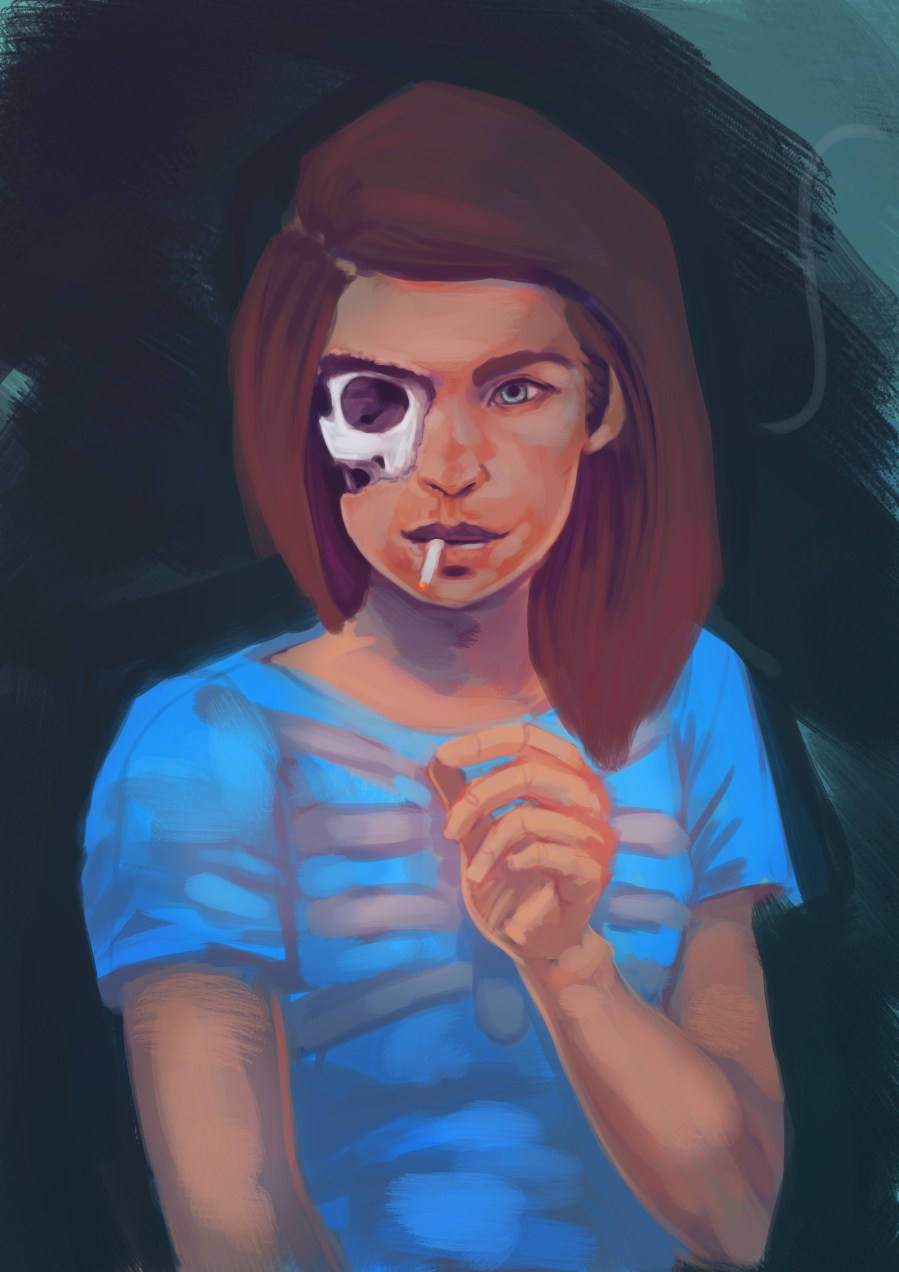
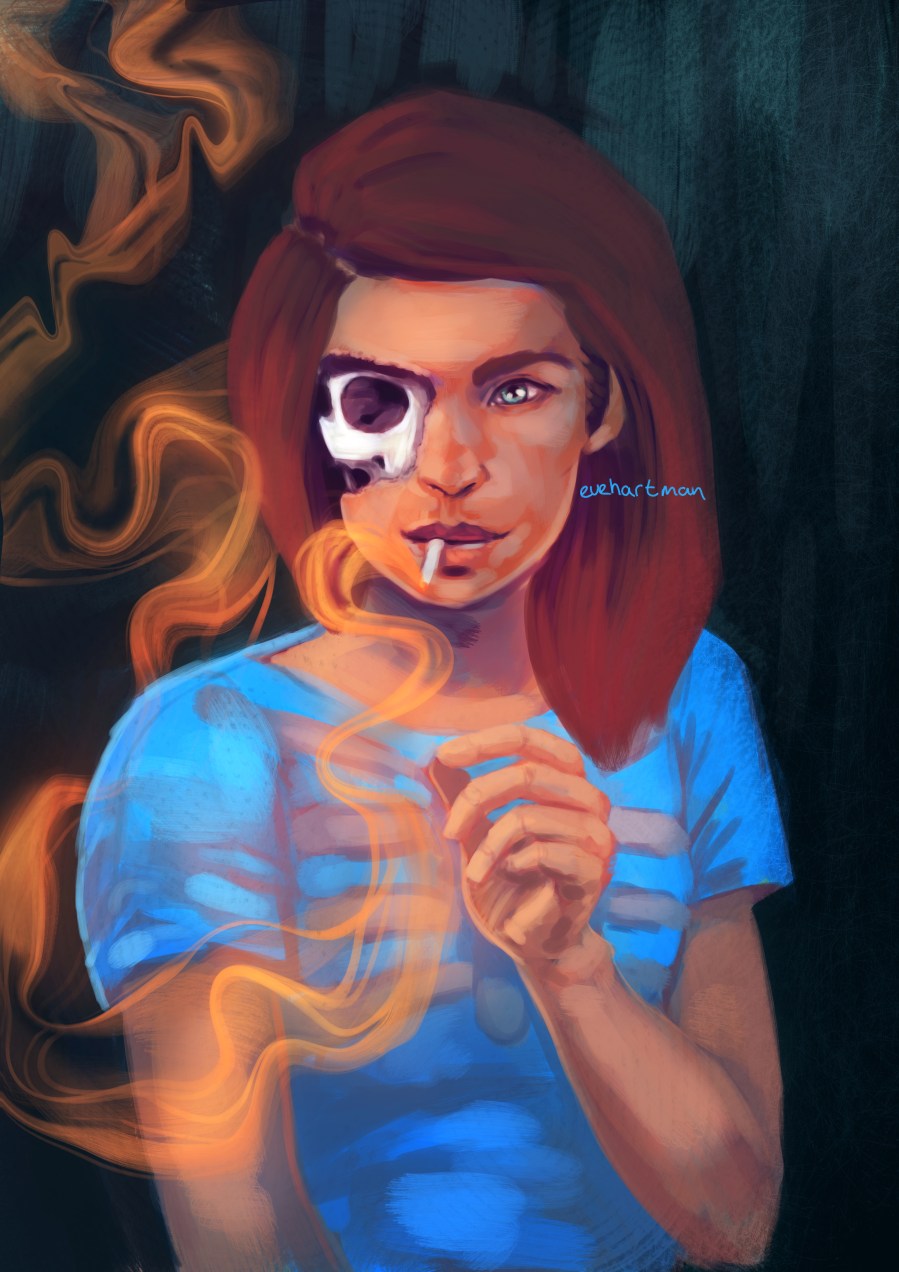
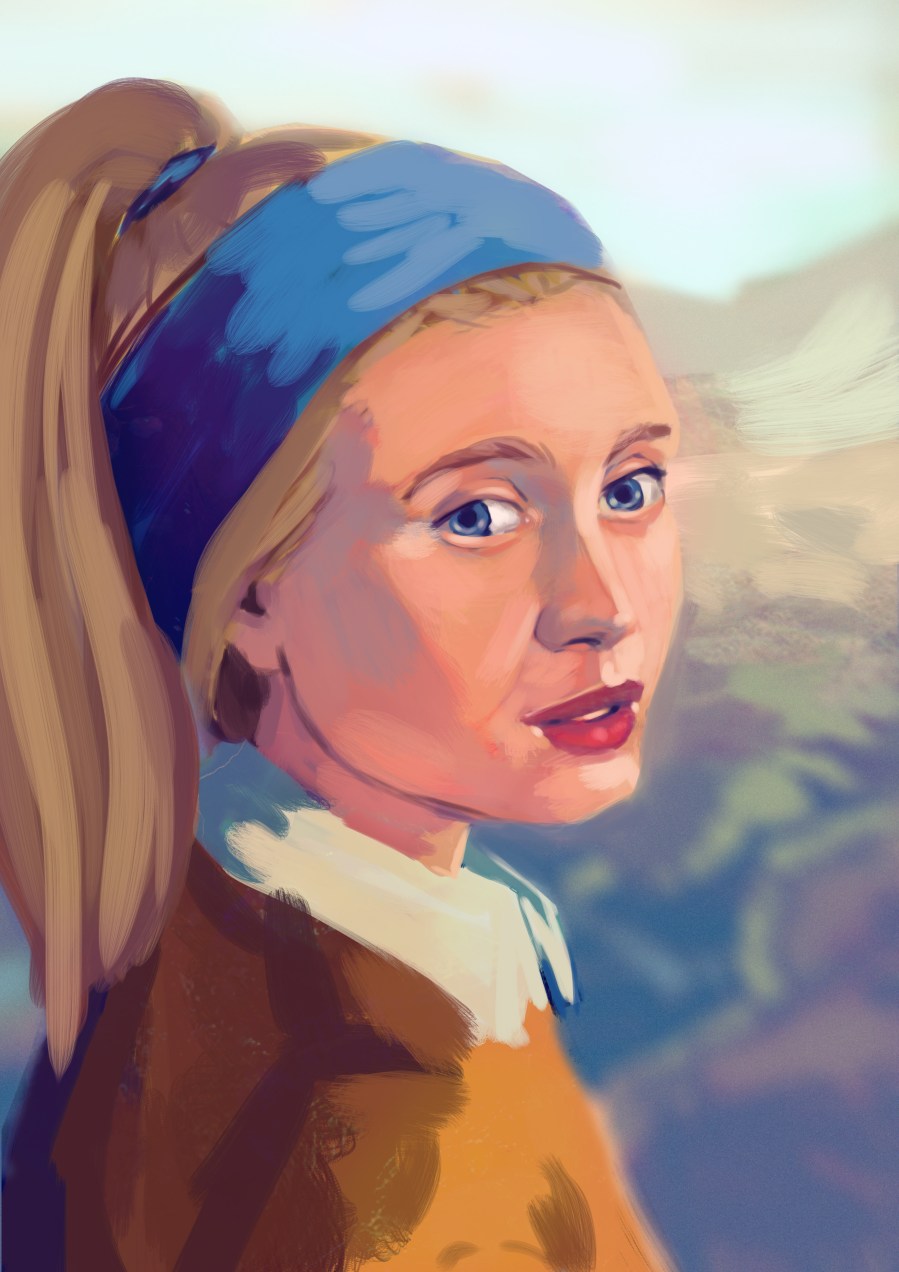
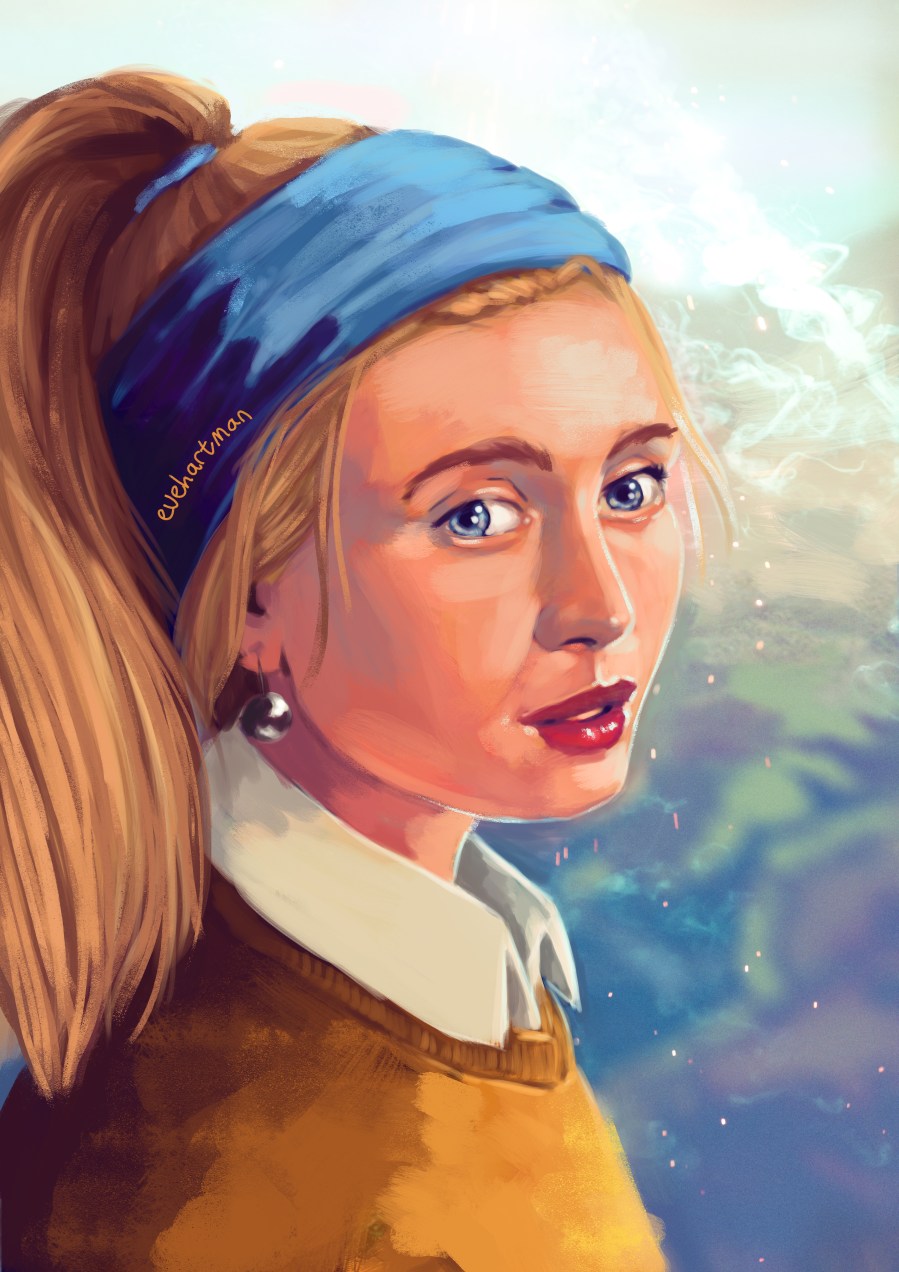
1. Basic composition in blue values. As a brush I used a basic, rough textured one for a painterly feel to it.

gt1

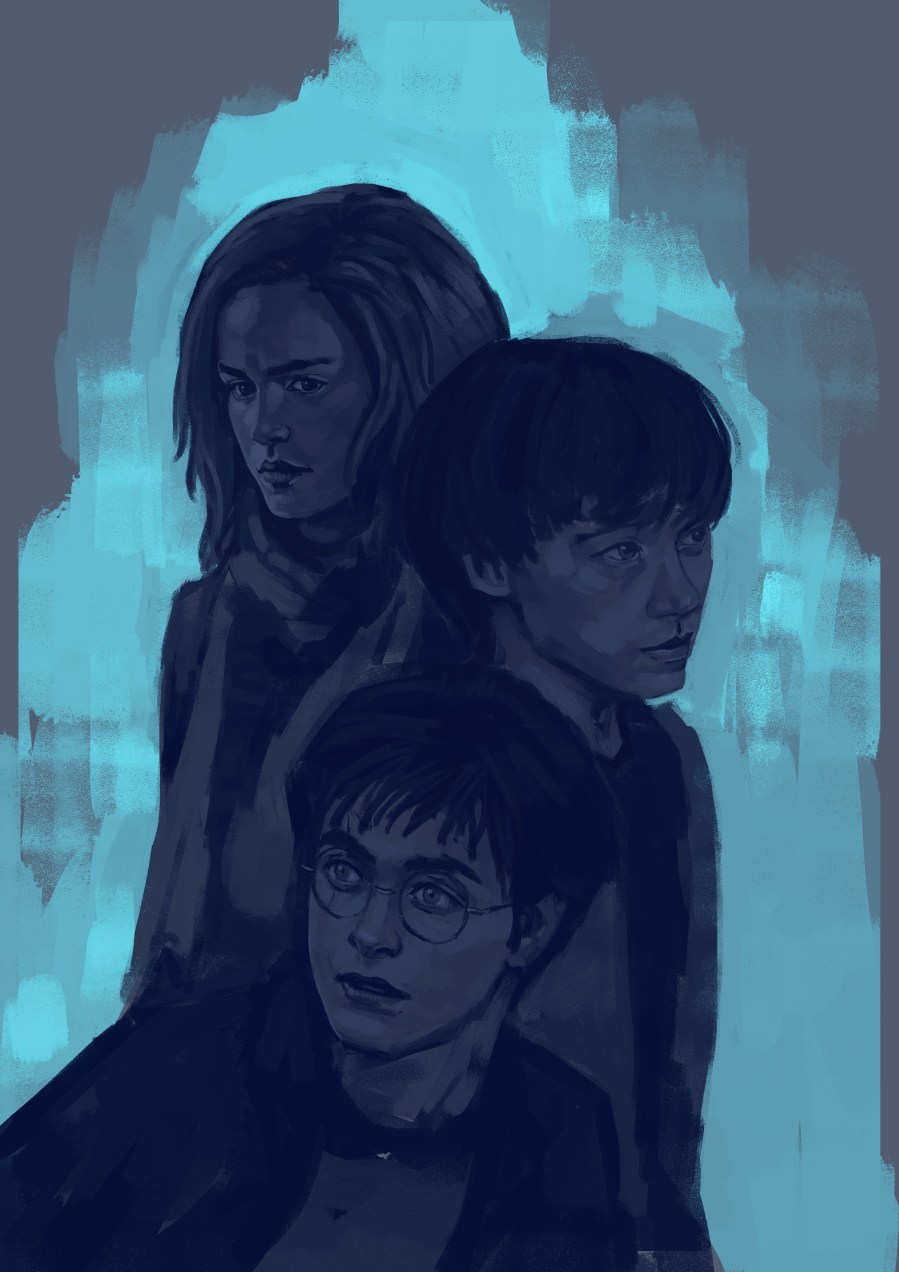
2. Defined facial characteristics.

gt2

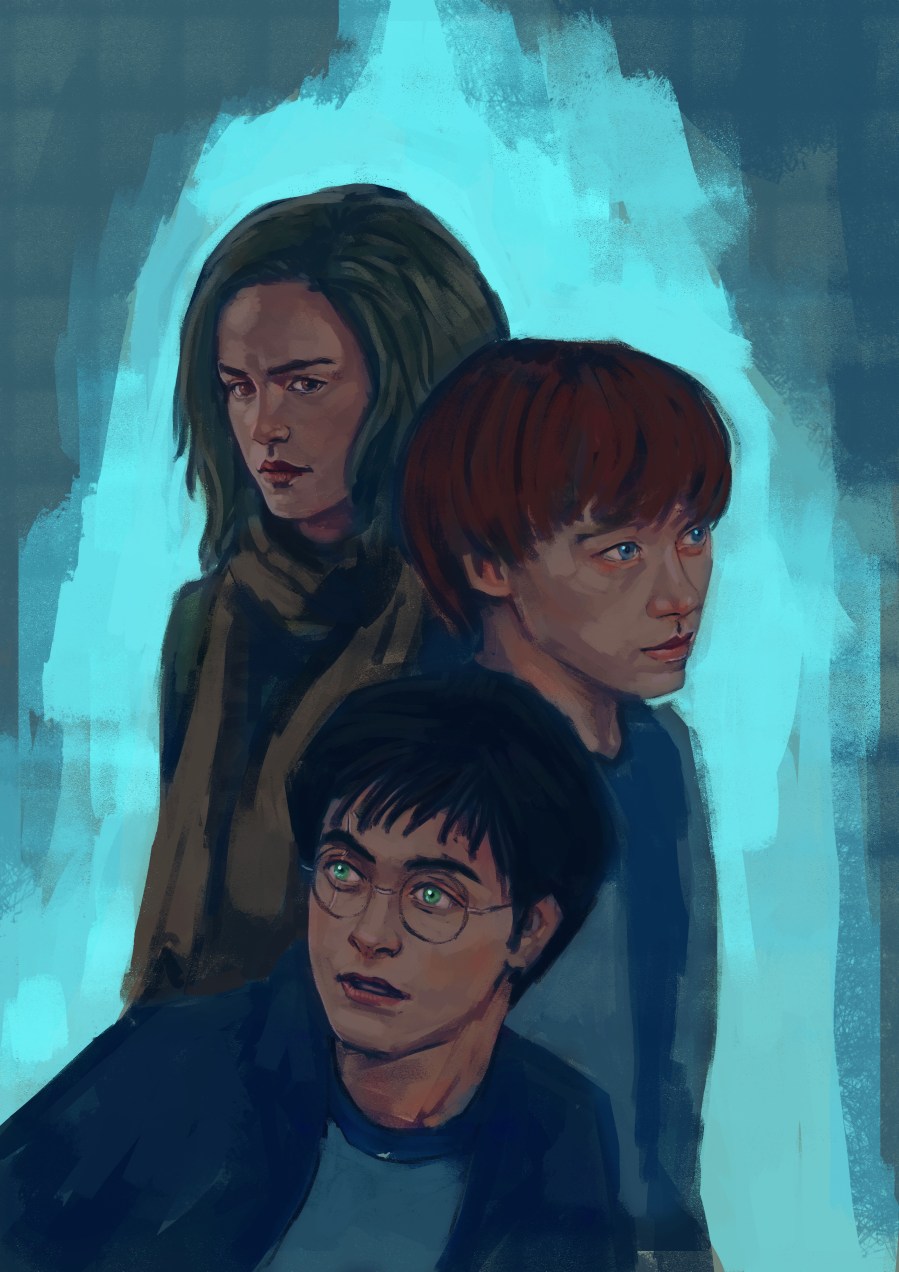
3. Added a layer, set layer option to soft layer (overlay works as well) and defined my colour palette.

gt3

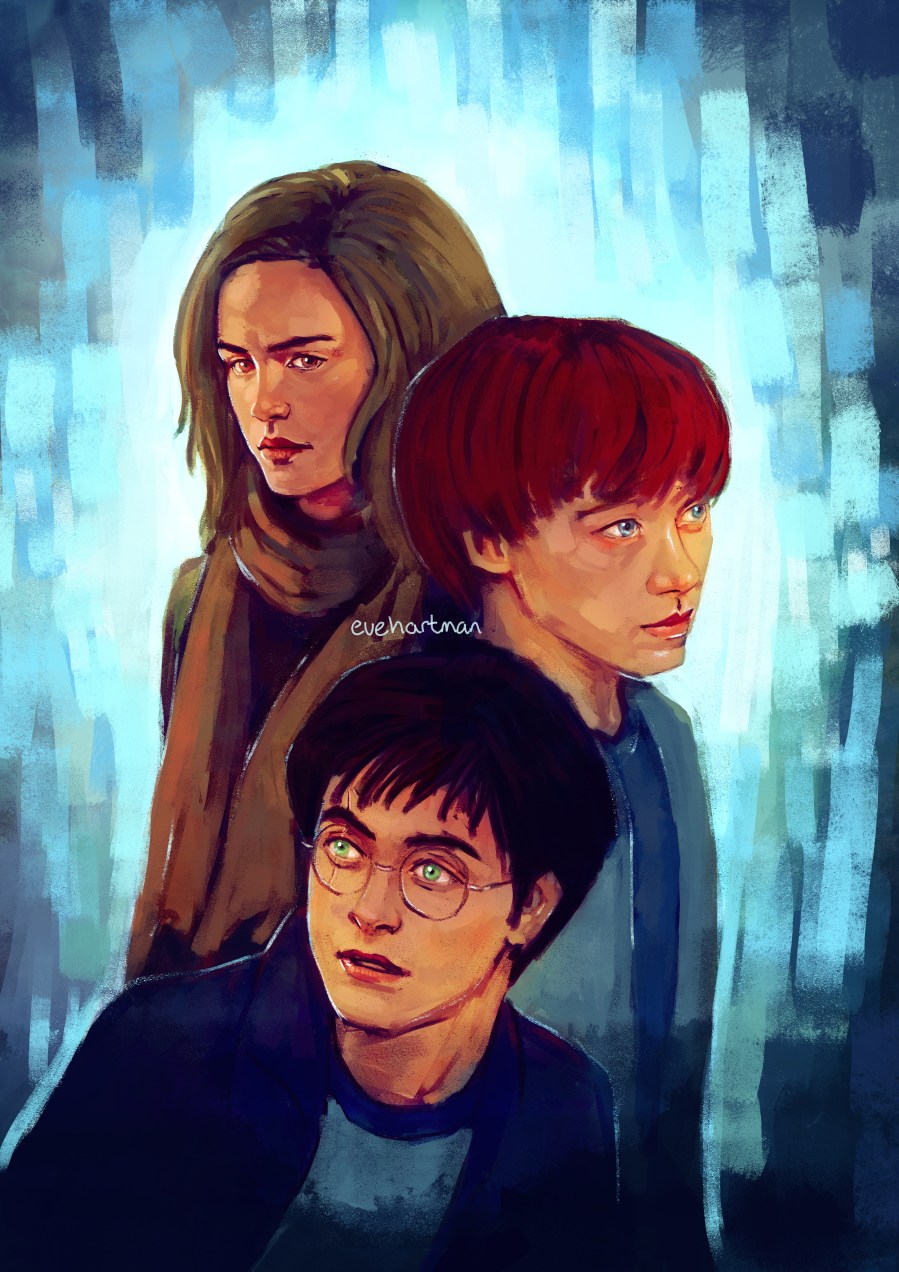
4. Up the vibrance, add a texture, use color dodge and keep drawing!

gt4

5. Last changes to background and never, ever forget to add a watermark.

11. Movie

For more detailed and extensive tutorial content, click here and here

Hope you liked it guys! You can let me know in the comment section below.

Love, Eve


Step by Step: Clown

Evening cuties!

Here is a quick two step process of Day 9 of October: Clown! It explains what I do when a piece is nearly finished.

1. Below you can see the nearly finished painting. But it still needed some more contrast and vibrance to make it ‘pop’ more.clown1

2. So I added two textures, set them to Lighten and erased some bits here and there. I also altered the contrasts, made her lollipop bigger and more blurred and added some details!

8. Clown

If you have any questions, comment in the section below.

There are more tutorials here: Texture tutorial – Customise Brushes – Self portrait tutorial

Love, Eve

Step by Step: Vampire

Day 7 was Vampire! I think I went a little overboard on this one…

If you wish to view more detailed tutorials of my working process, click here: Colour tutorial – Texture tutorial

1. Basic tumbnail and experimenting with colours.

vamp1

2. Adjustment of placement, colours and facial feautures

vamp2

3. Adding a background and effects

vamp3

4. Details, details details! As a final step I added some blood on her clothes (she is a vampire after all).

7. Vampire

Let me know what you think!

Love, Eve

Step by step: Decay

Day 5 of October is Decay!

Below I show you a couple of steps on how to make an artwork more vibrant and dynamic. If you wish to view more detailed tutorials, click here: Original & Composition – Texture tutorial

1. First I searched for some inspiration, so I just put ‘decay’ in the Pinterest search bar and stumbled upon this gorgous stone picture with such vivid colours.

decays

2. Started out with a basic drawing.

decay1

3. Her sigarette was going to be a focal point of warm light, so I already layed down those highlights.

decay2

4. I then added all the smoke around her and made good use of the color dodge tool to highlight some areas more!

5. Decay

And that is it! Let me know what you think.

Love, Eve.

Step by step: Gaze

Day three of October is Gaze! Here is my quick step by step of the painting. I will not discuss any details this time, if you wish to view more elaborate tutorials, click here: Study Tutorial – Reference tutorial – Self portrait tutorial .

I took reference from the famous painting of Johannes Vermeer, Girl with Pearl.

1. Started with a base that locked in the colours and shapes

Gaze

2. Continued adding details and settled on a background

gaze2

3. Started on modernising her clothing and adding her hair, as well as adding contrast between background and foreground.

gaze3

4. Added details (look at the pearl) and finished up the background! That is it!

3. Gaze

There will be more step by steps this month, so be sure to check back in again.

Love, Eve