Hi guys!
Today I have a step-by-step tutorial of one of my favourite pieces yet; Newt Scamander from Fantastic Beasts! I painted the drawing about a month before the movie came out, so the sign for the Blind Pig is not accurate, but I hope you can forgive me for that.
If you want to know how I start a new drawing, I would suggest you visit these tutorials:
Colour process – Reference tutorial – Study Tutorial – Customise your brushes
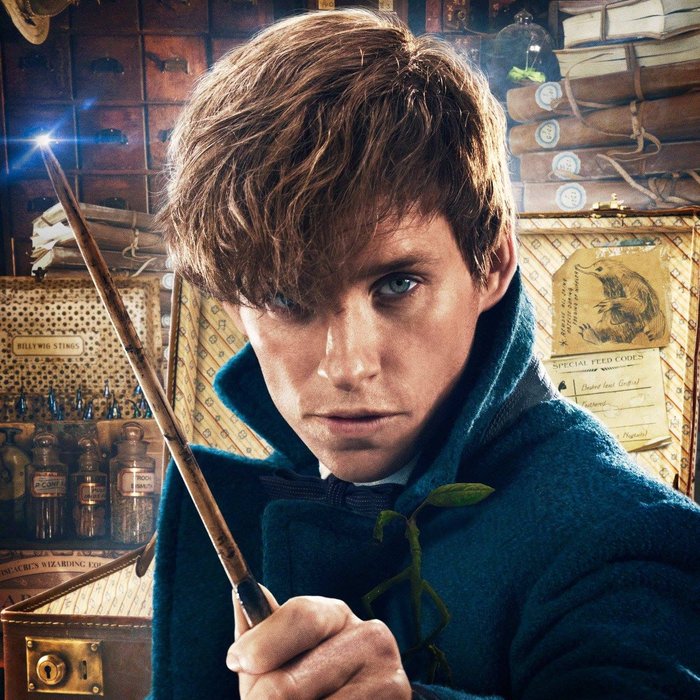
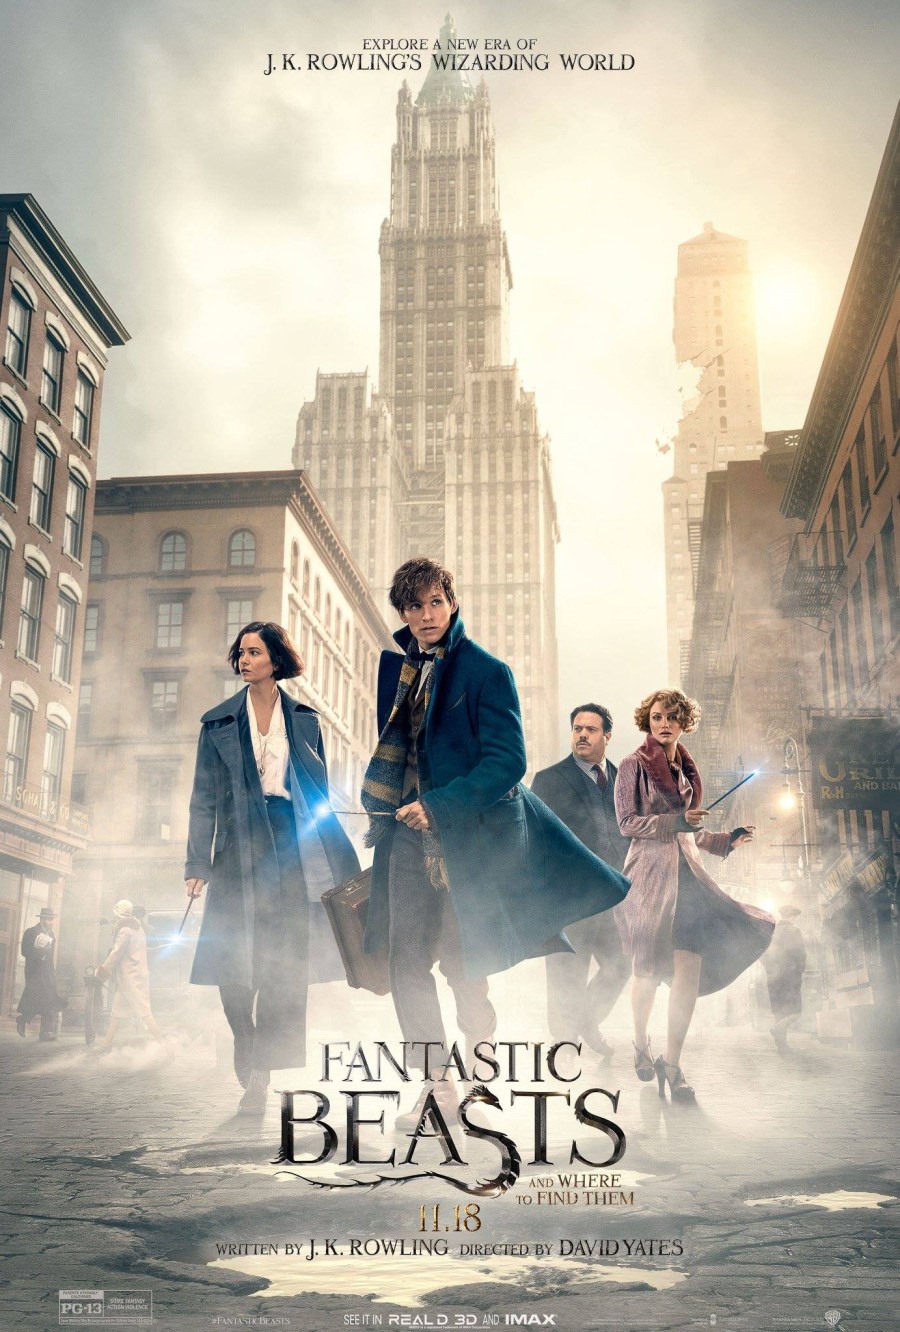
1. First of all, I picked the images below as reference pictures: one to serve as reference for the global painting and for the initial pose of Newt, and one for his face ( I wanted him to face towards the spectator).
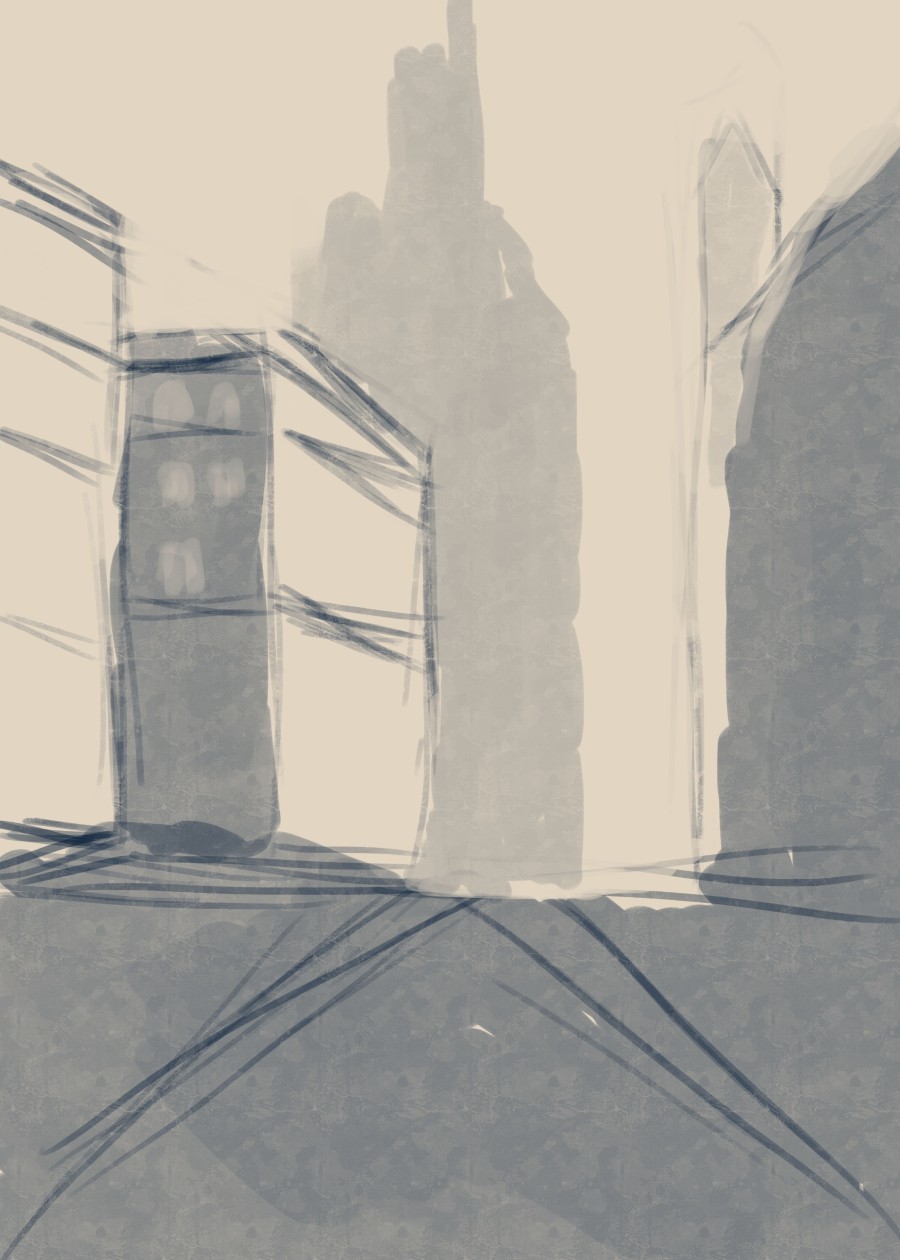
2. Set up a blank document (this one was 6500 x 9000 px with a 300 DPI) and start with your basic lines.

Just make sure you fill up those basic shapes and lines. As you can see in the next image, there are some differences in value in the buildings: The ones that appear to be close by have a higher value than the buildings that are in the background.
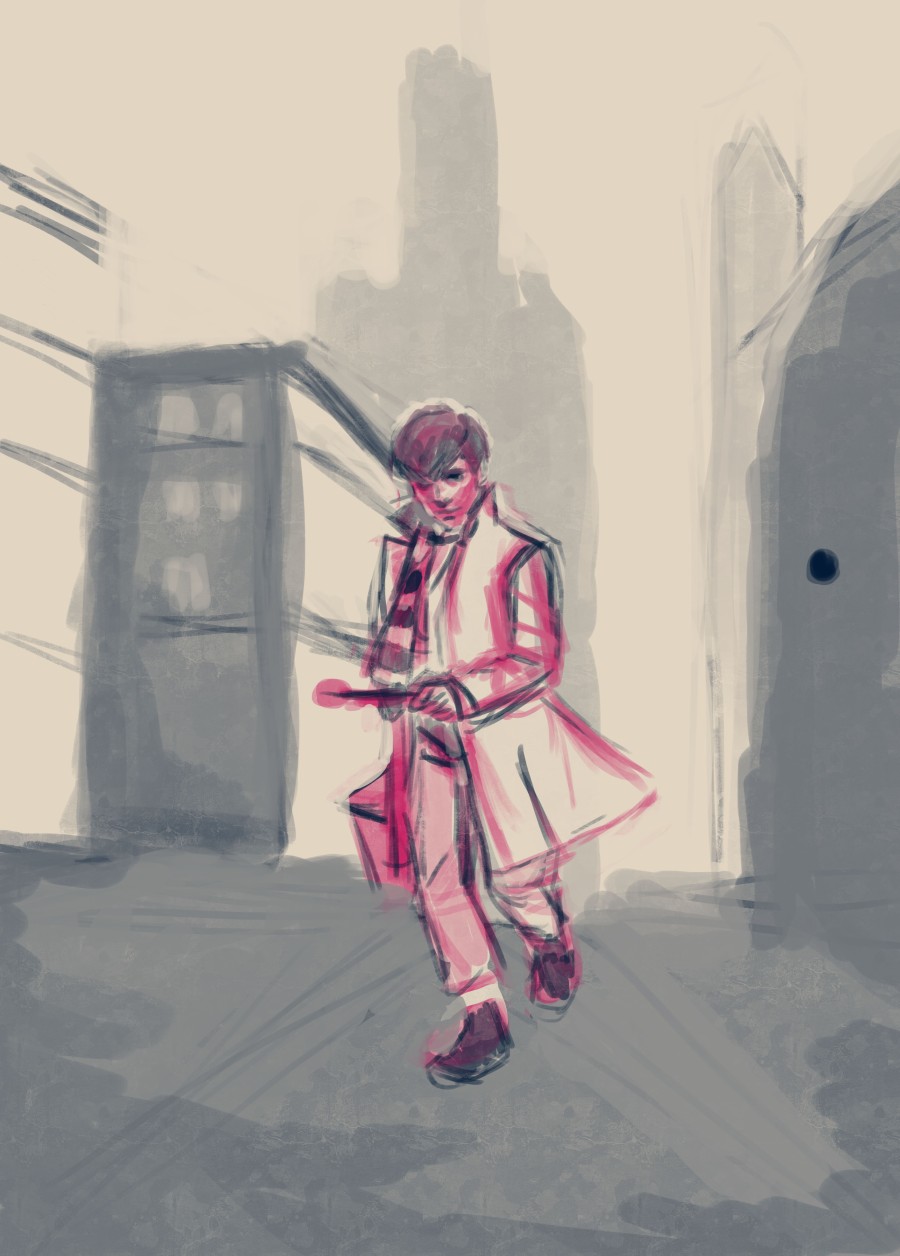
2. Time to present Newt! I added a new layer and set up his basic lines in a complementary colour so that I would not get my lines mixed up. I adjusted his height a little bit with the help of the Transform option (Crtl + T).

3. I continued drawing Newt by defining his initial line-art with a darker colour and made progress on his facial features. The buildings in the background as well as the ground got a more smoothed look as I gradually worked on top of the original lines.
4. As a next step, Newt got some more shading and value to add details.

5. Colours! I wanted to have an orange – blue palette for this drawing, so I made an orange gradient- and blue gradient layer and set them to softlayer, the image below shows the result of that change.

I then kept playing with some colours layers and their options before I settled on a definitive palette. Furthermore, the street got a neat texture (found on http://www.textures.com )


6. Portrait time! I set up the face reference next to my drawing document and began painting his gorgeous face. ( To see how you can paint a portait from photo reference, click here: Reference tutorial )

7. The following steps included more definition in colour as well as adding more details and shading to the surrounding buildings.

8. I felt like there was someting missing so I started adding Frank into the painting. Deliberatly placed him between the buildings, hoping it would create a better dynamic in composition.

9. And I thought the Niffler should be in there to! In the background you can also see a Hippogriff. Again, made sure that the objects that I placed in the background have a more ‘merged’ look.

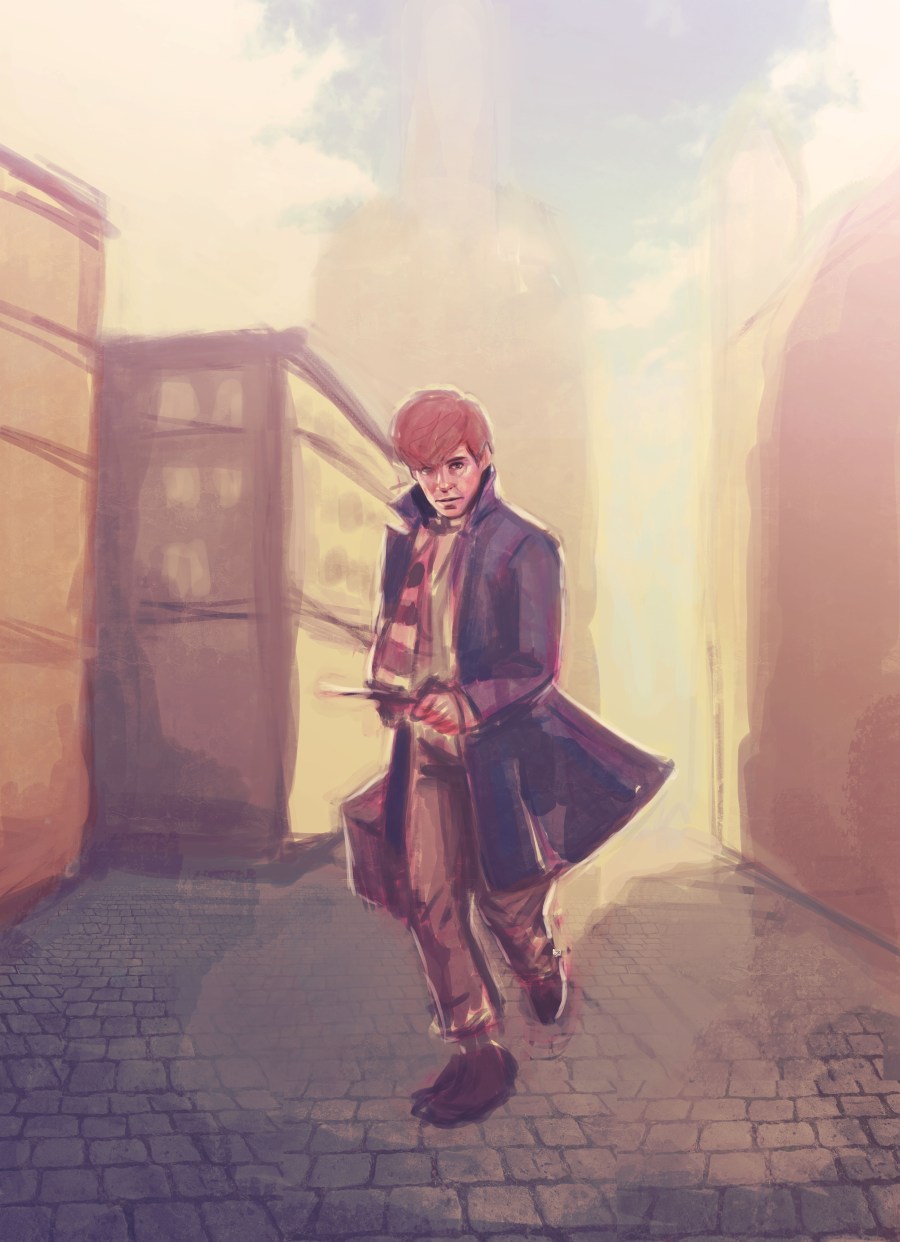
10. Color dodge time! For the final painting I added several more layers to play with colours, lights, ‘special effects’. As you probably have noticed I added a sign to the rights, as well as the title in the front. The blue and orange clouds you can see at Newts feet are a seperate color dodge layer. ( To see how to color dodge, click here: Color Dodge )

And that is about it! Any thoughts on the next tutorial? Let me know in the comments below.
Love, Eve

Amazing! :3
LikeLike