Hi cuties! It is tutorial time 🙂
This time I made a step-by-step tutorial of my latest selfportrait.
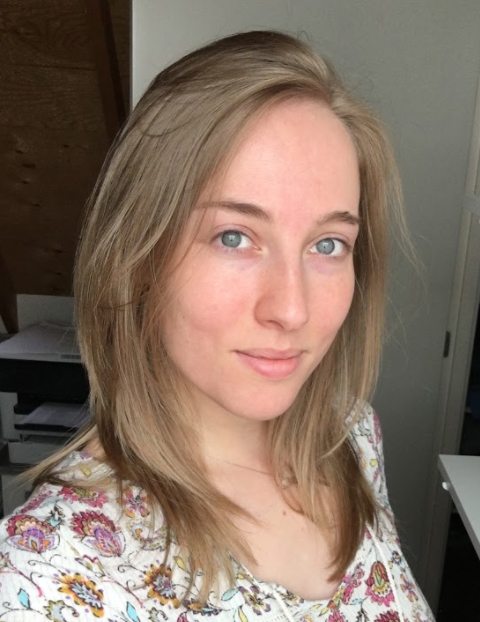
1. Pick a suitable photo of yourself: In the picture below the background is a bit messy, but the light on my face is good. No make-up photo’s usually are better to work with!
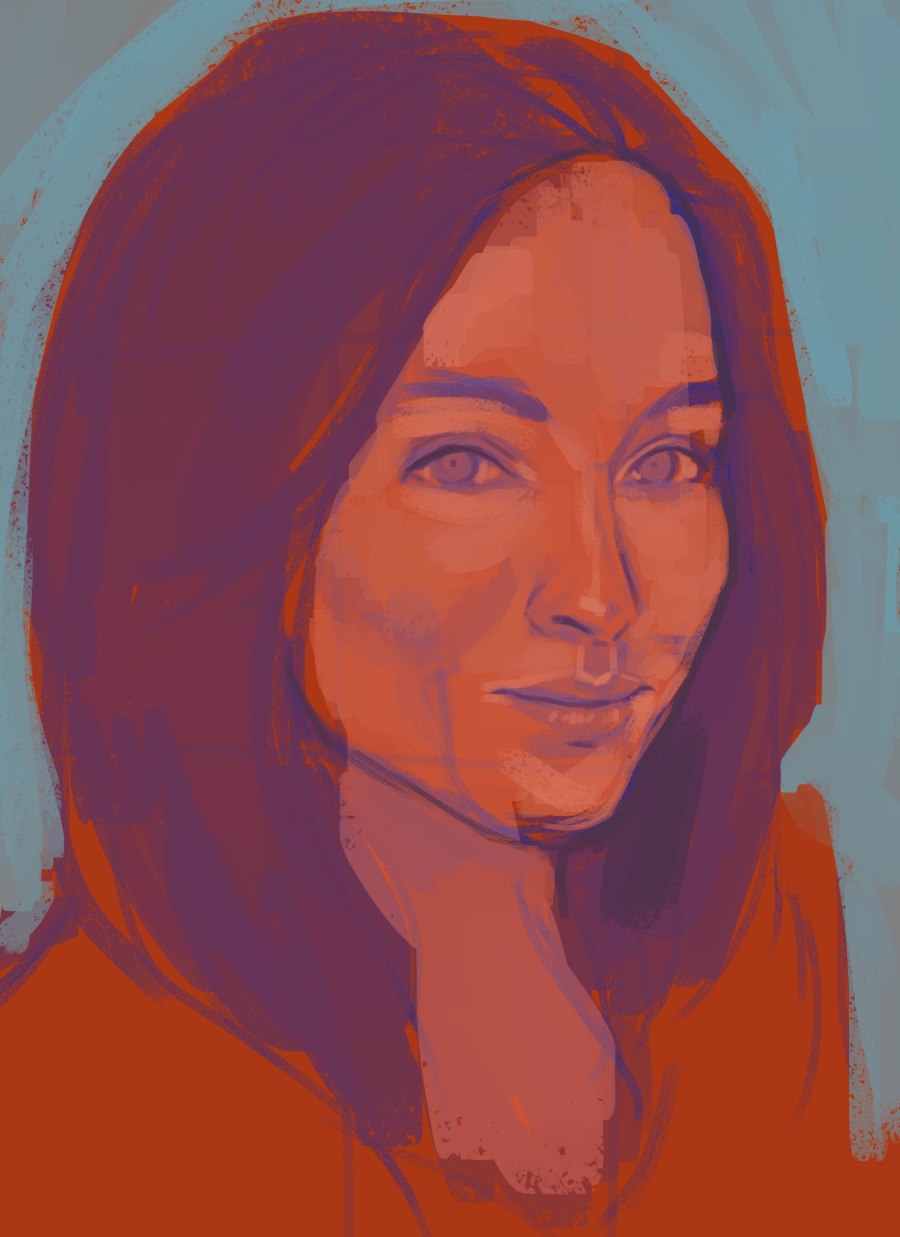
2. Start with your base ( base background and raster; check this photo reference tutorial to see how : Reference tutorial) and set up your basic facial features. I started with an orange base to ensure a warm skin tones. Then I chose a complementary blue as background colour.
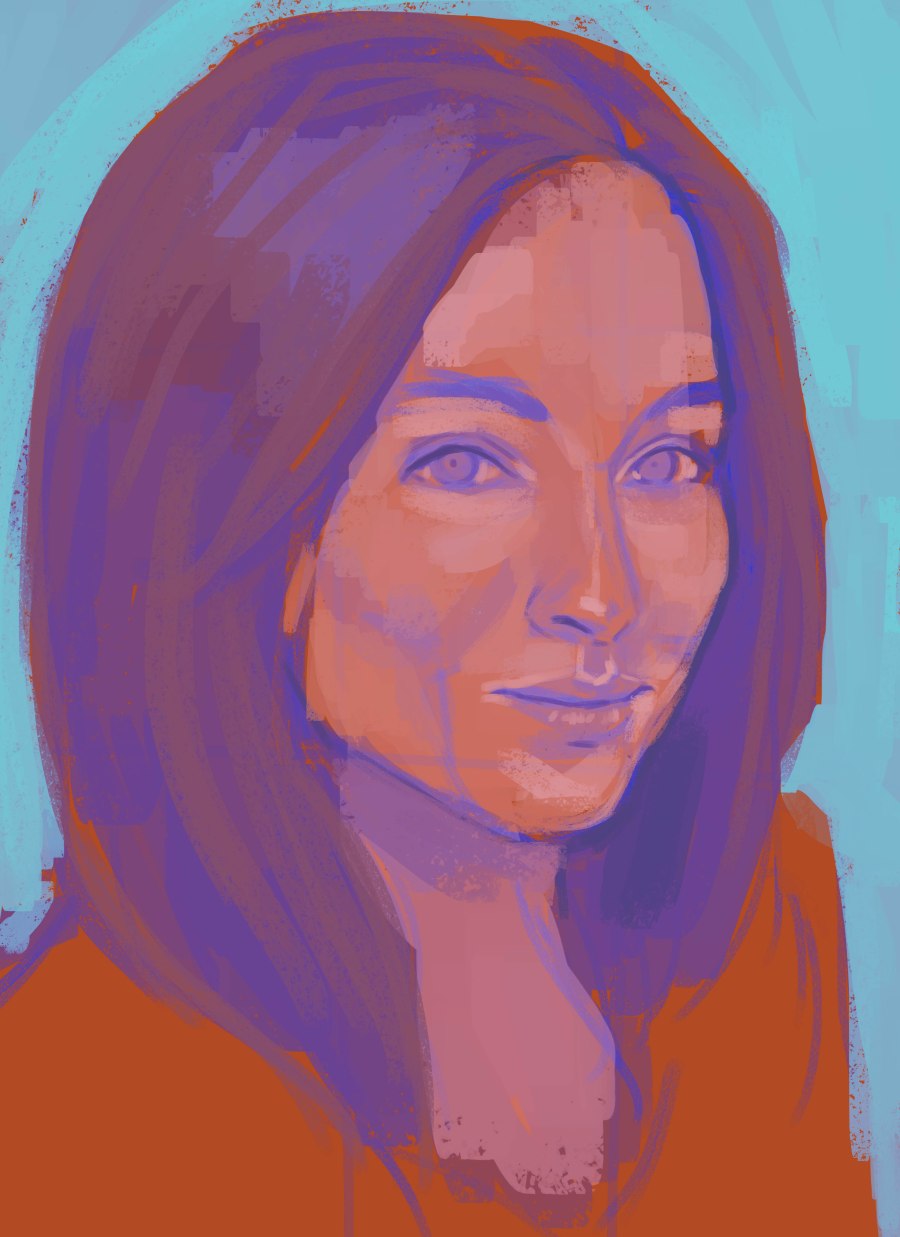
3. Next I brightened the colours more and added some highlights. As you can see, the base colour of the hair is a purple hue, which would seem odd at first. But is really works as a base colour!
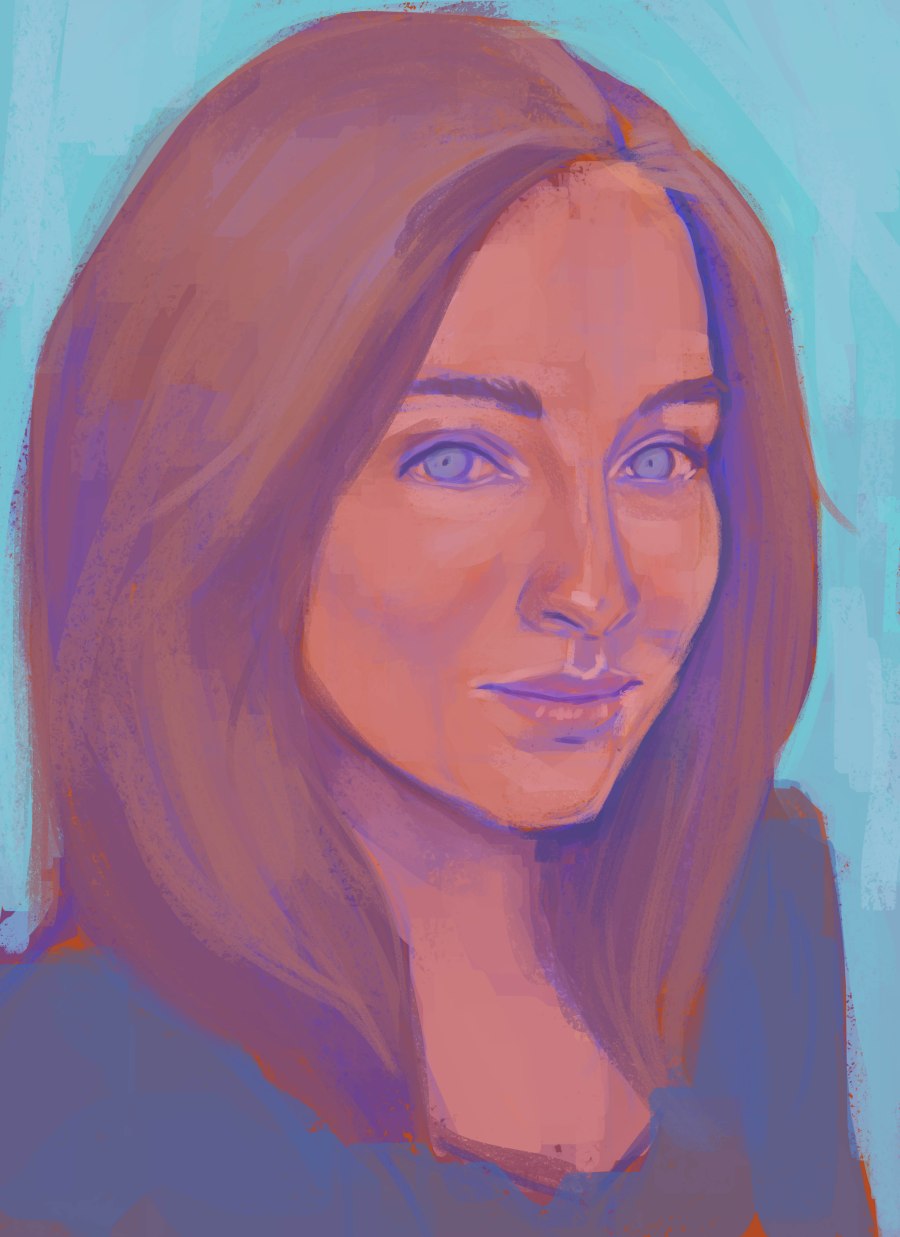
4. Time to define the colours! Below you can see the hair evolving from a purple colour to a blonde shade by applying lighter red/brown colours on top of the base. I also smoothed the skintones and gave the dress another colour (which worked better with the background)
5. It is color dodge time! The previous image lacked brightness and contrast. which I added in this step. Also, I added more colour dynamics by color dodging (to see how you can color dodge, click here: Color Dodge )

6. Next step is adding textures for colour dynamics. I was able to add a popping pink colour. (To see how I apply textures, click here: Texture tutorial )
7. And add finishing touches to complete your portrait!
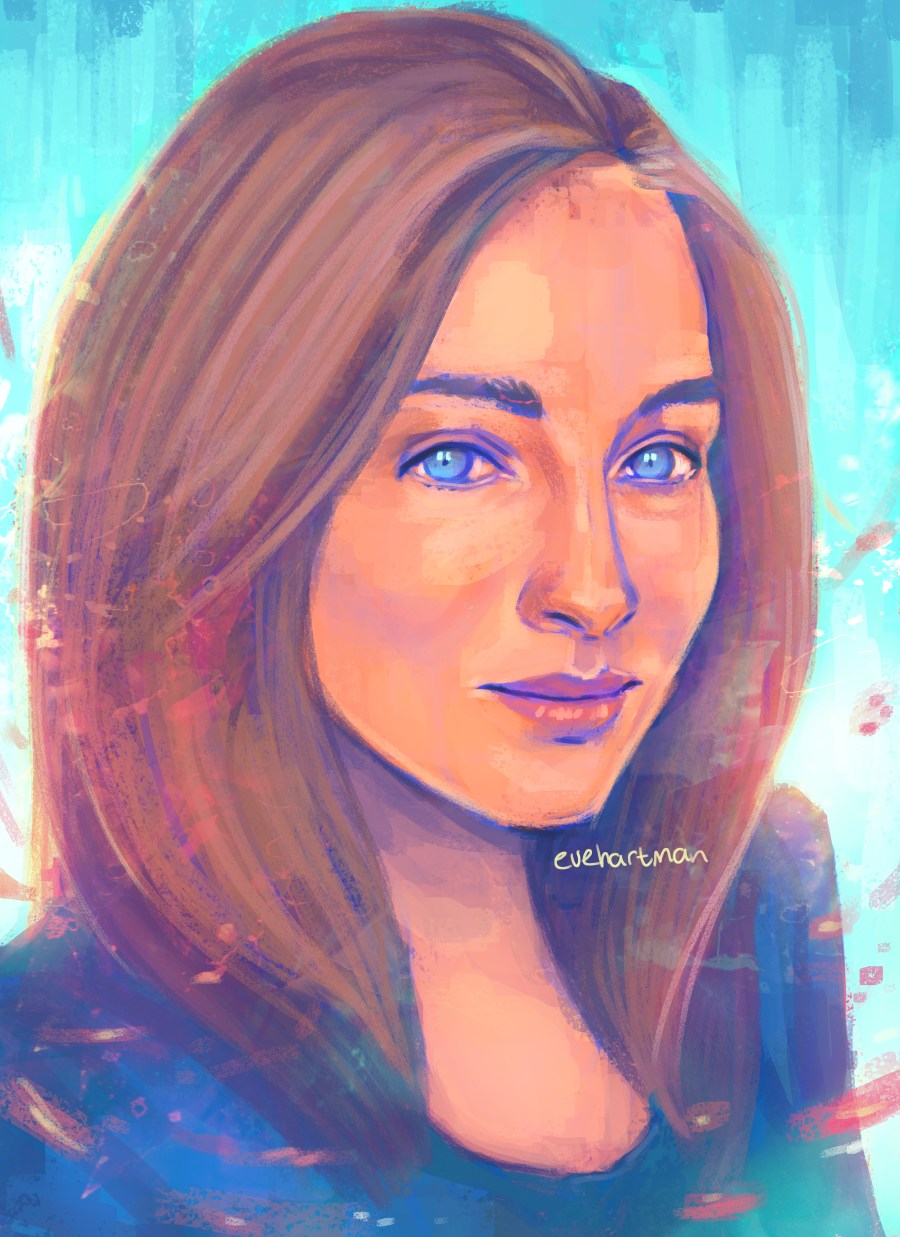
Hope you guys find this helpfull! I would recommend you check out the following tutorials as well to get a better sense of my drawing process:
Original & Composition – Study Tutorial – Base tutorial – Reference tutorial
Love, Eve