It is tutorial time!
This time, I will show you how I use textures in my artwork as a way to add colour and dynamics.
First, I start drawing my portrait until I think it is about 80% finished (see the steps below)
1. Start with a proportion and raster base
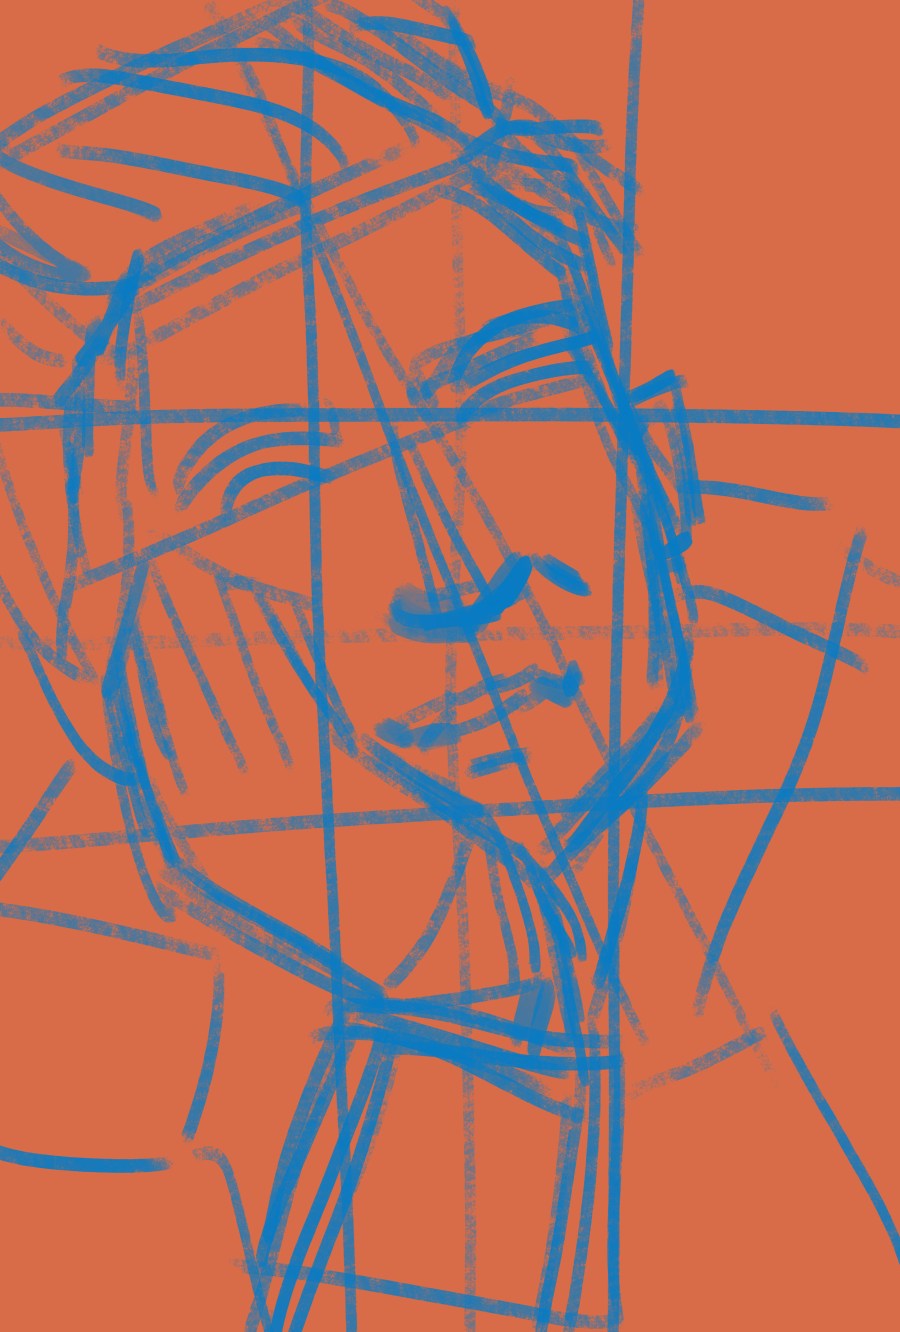
2. Pick your basic colours and lay them down.
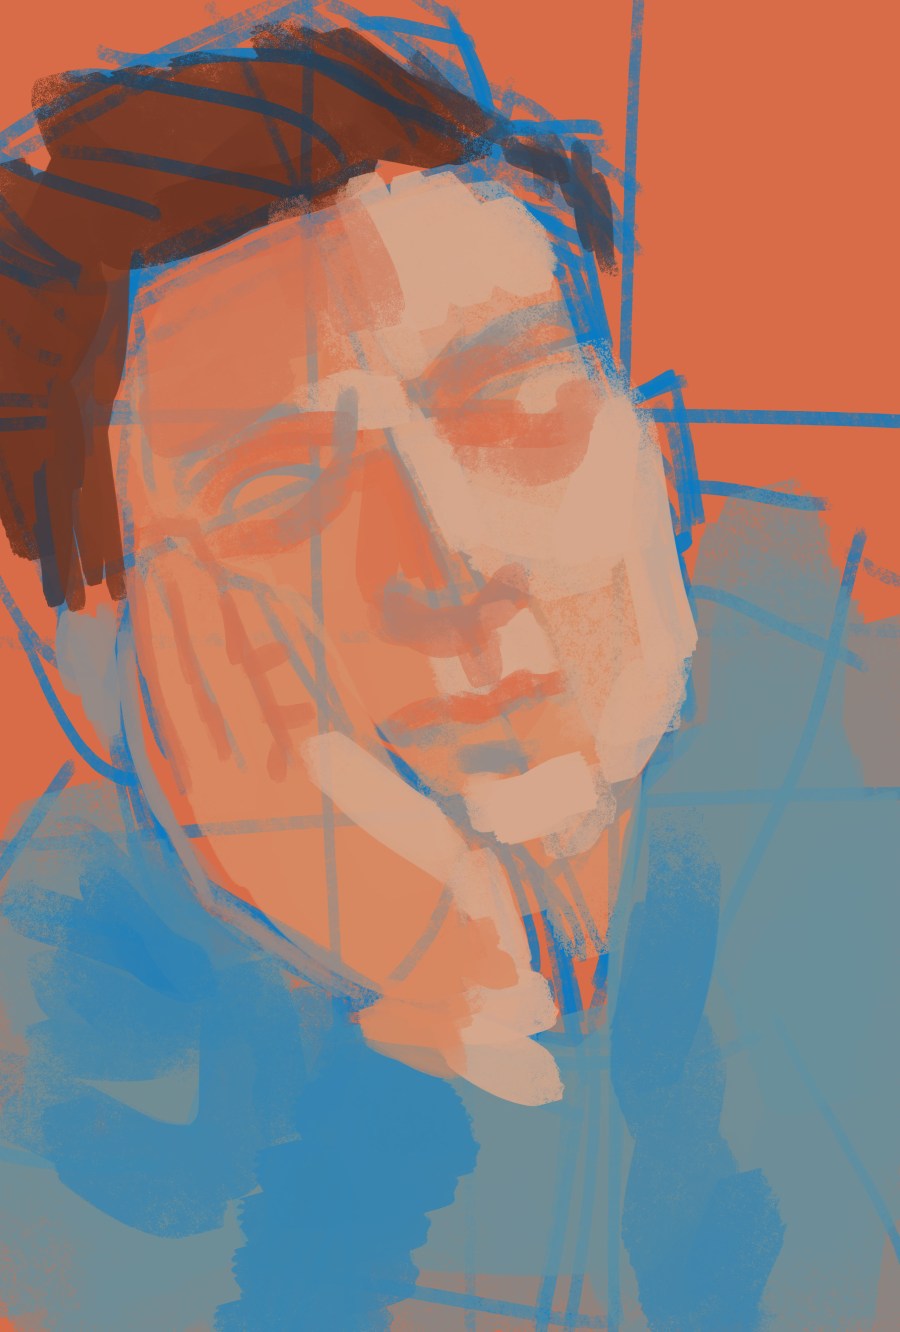
3. Fill out lights and shadows and add a background colour
4. Keep defining your shapes
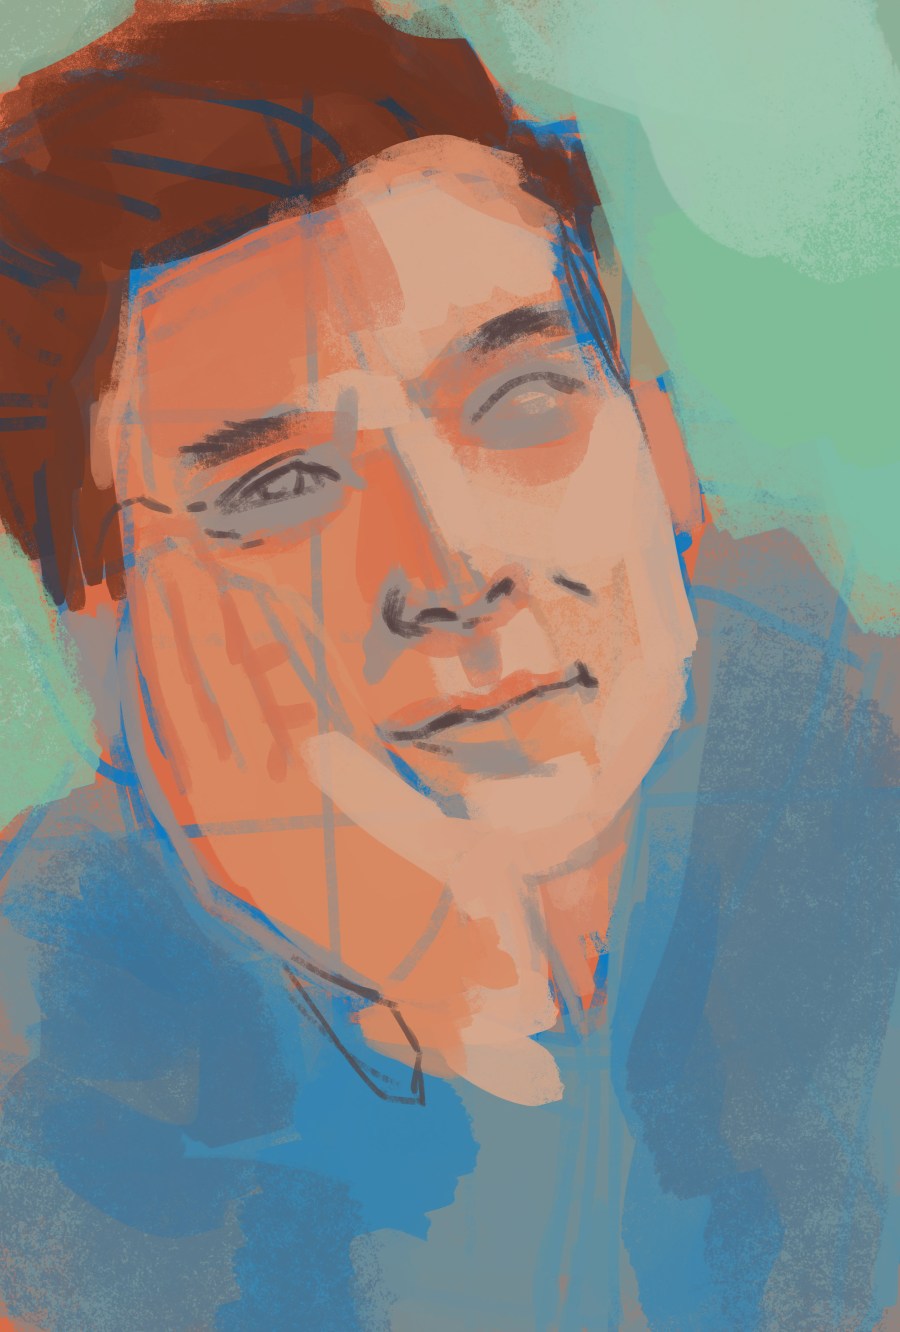
5. Alter your colours if you have to.
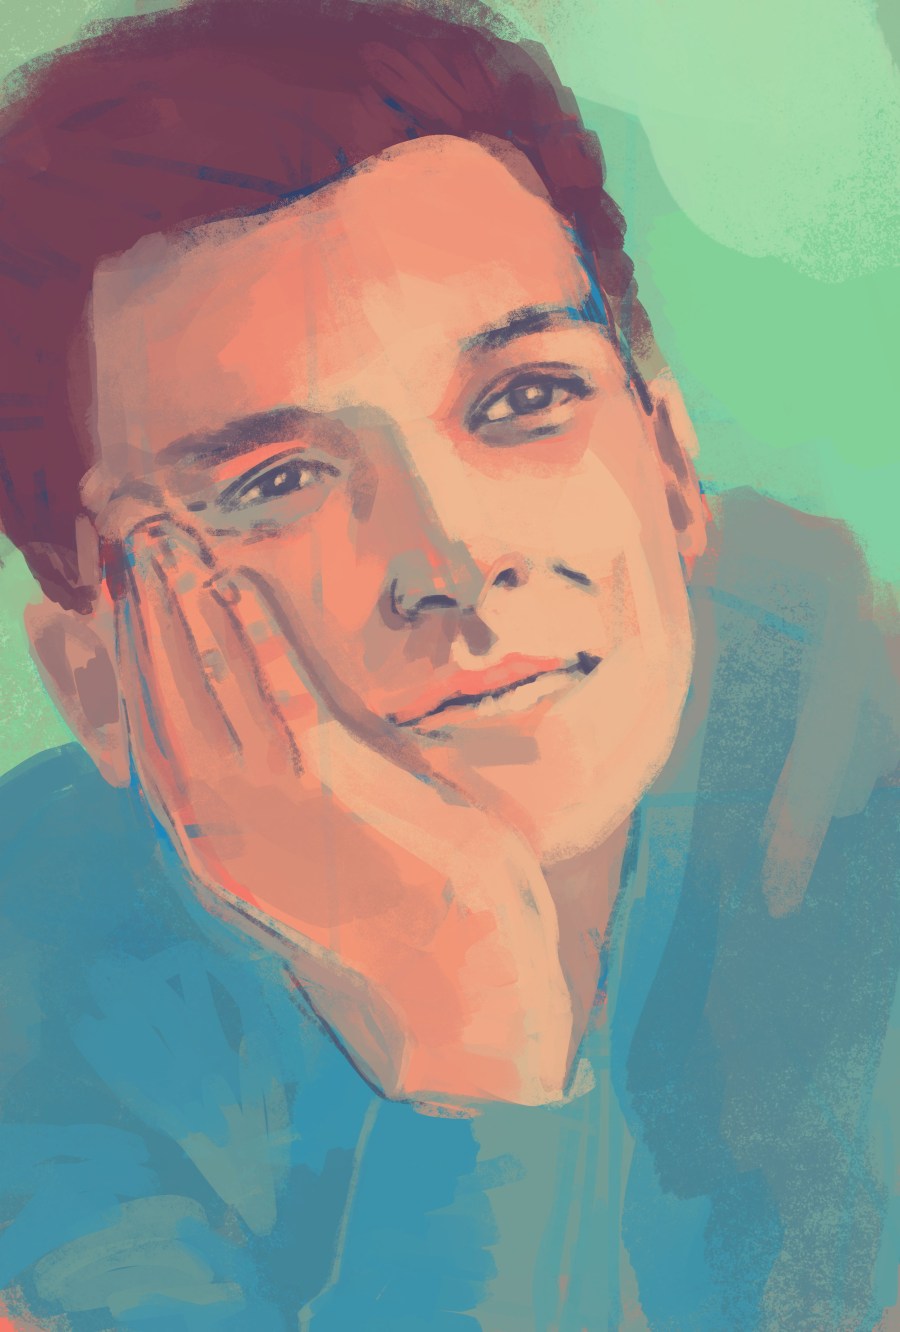
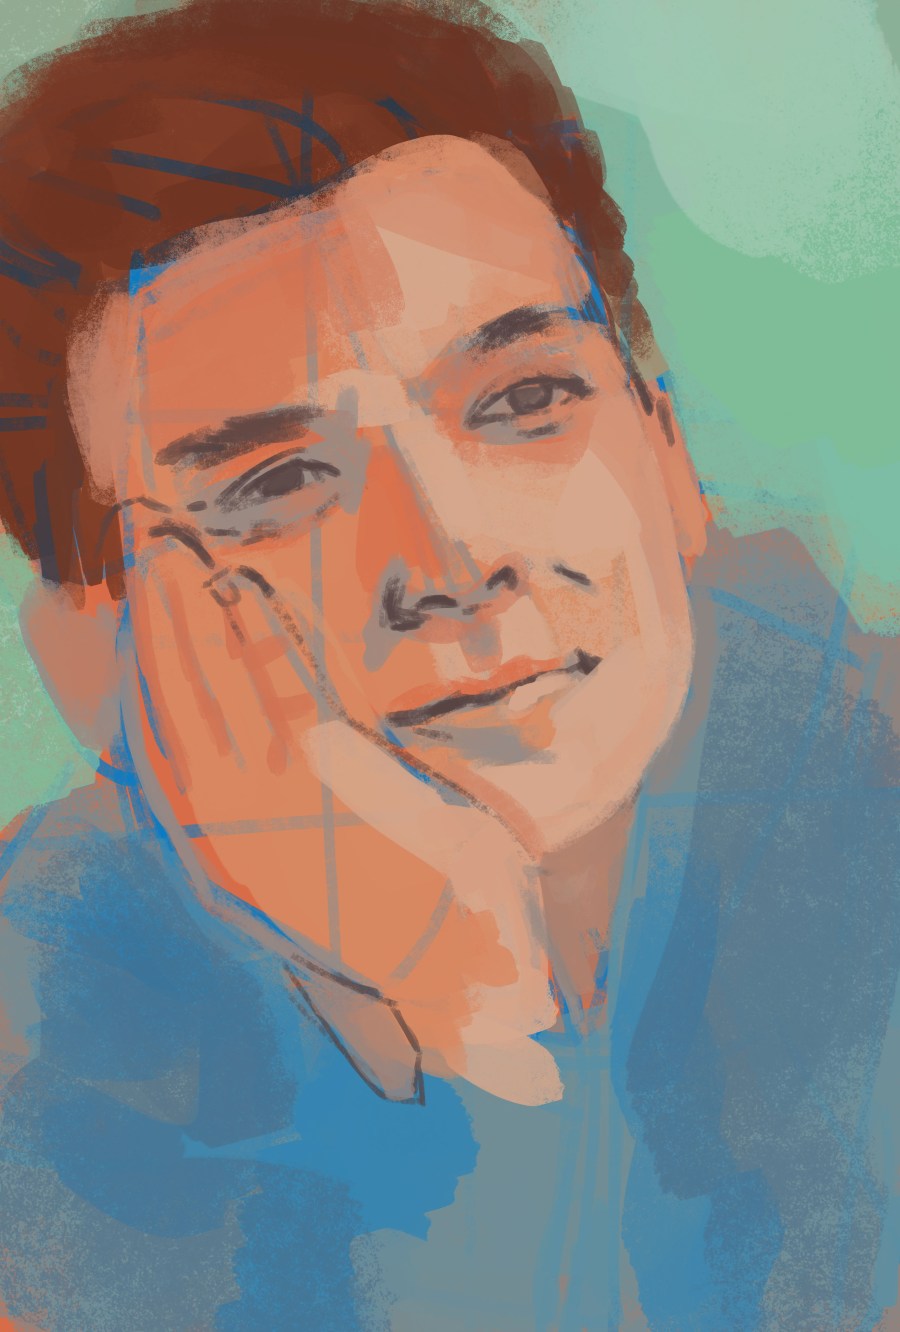
6. Keep drawing until you defined most details
Apart from the details in his sweater, this looks like a decent portrait already. That is when I usually apply my textures.
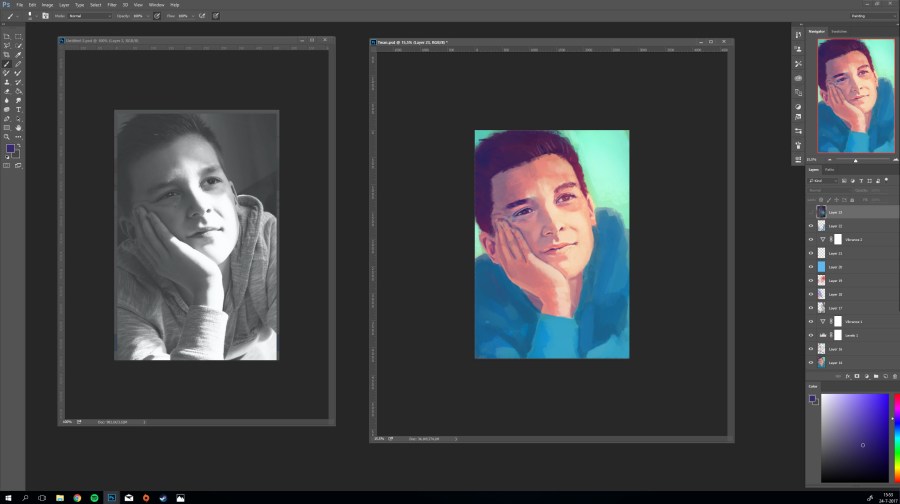
7. Textures can be found everywhere on the web; http://www.textures.com is only one example. However, in my opion Deviantart accounts supply you with the best textures.
I used the following textures for this portrait: Galaxy – Primary – Lights
I started with the Galaxy print and copied it to a new layer

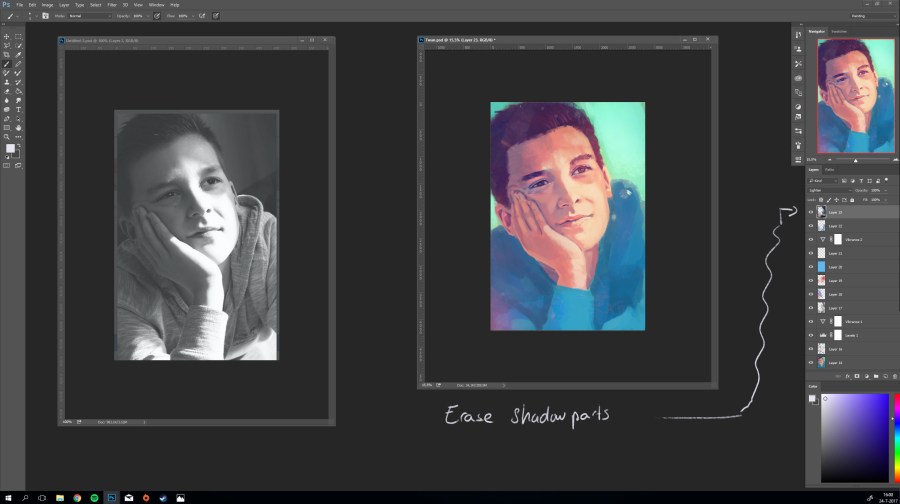
8. For the next step I set the layer setting to lighten; this resulted in a faded light texture on top of my artwork.
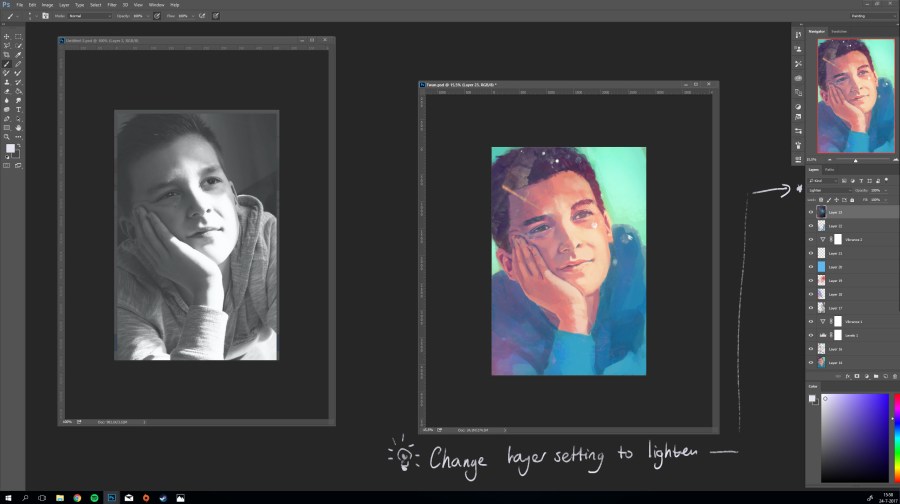
9. Erase the bits that bother you, parts where you don’t want lights such as skin, shadow parts.
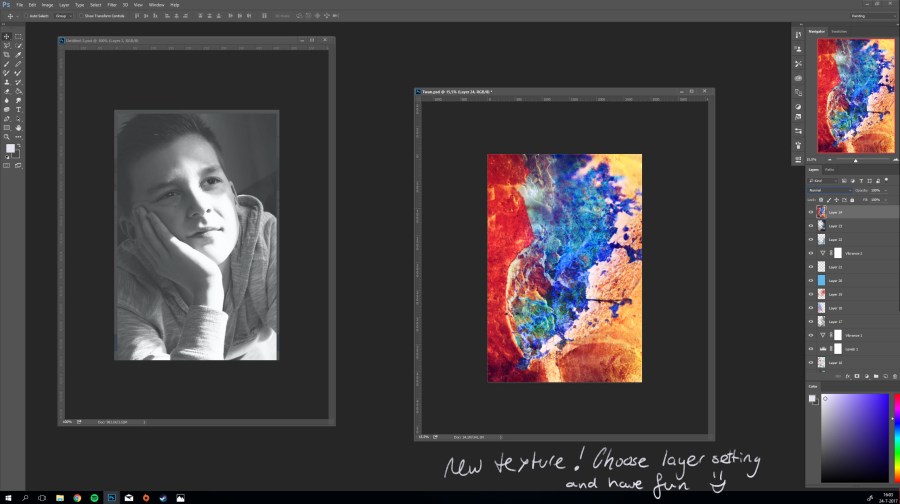
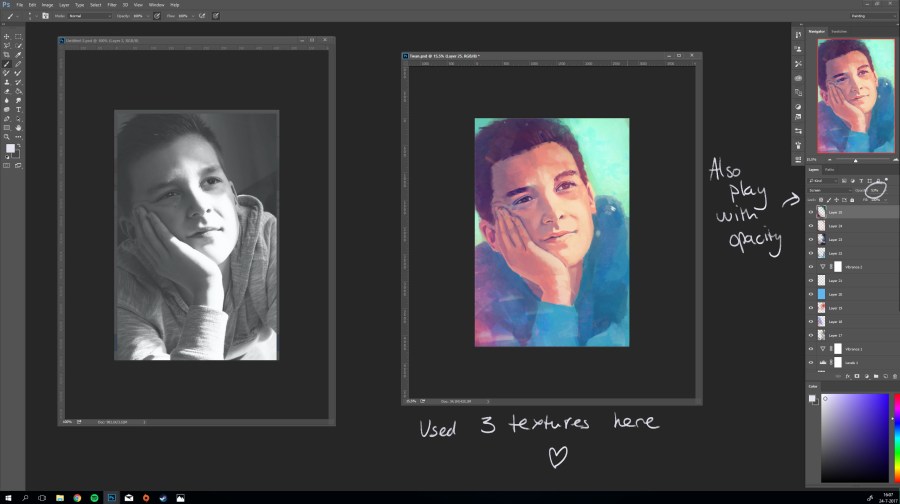
10. You can start drawing from this part on if you want to; but most of the times I add about two or three textures layers and play with it for a bit.
11. It is imported to change your settings a bit to “merge” your textures more: I up the contrasts a bit and change the levels.
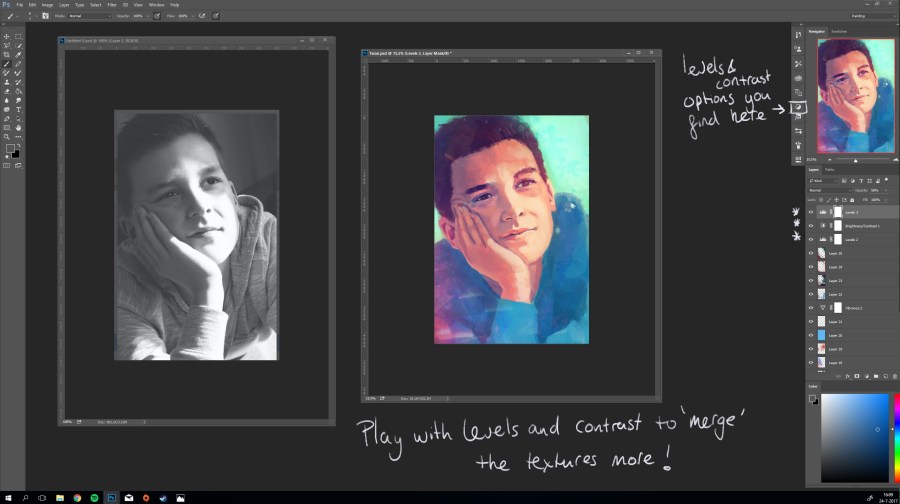
11. You go from this:
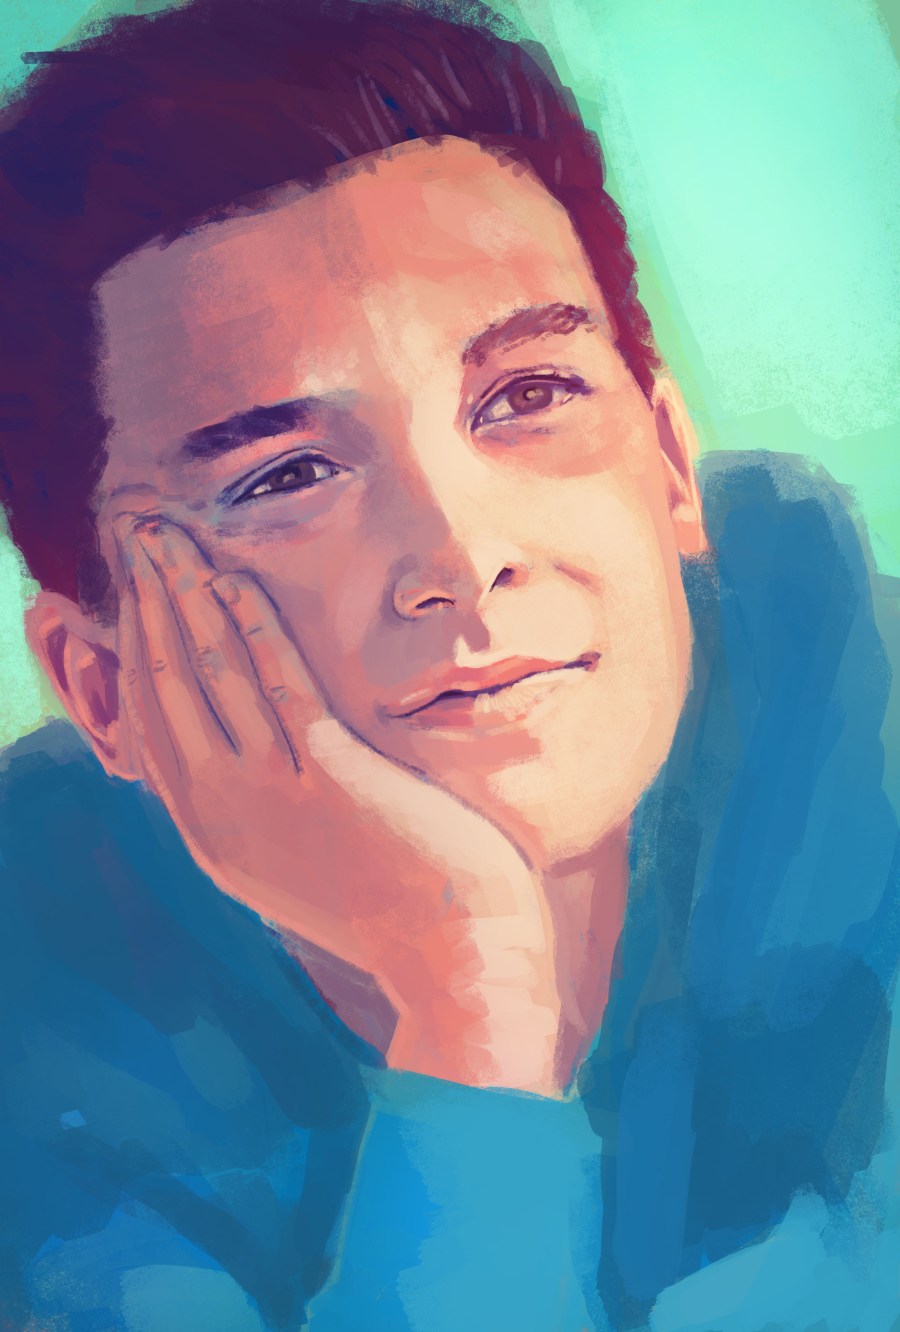
To this:
More colours ánd more dynamics.
12. I add a new layer and start painting on top of the textures. The importance here is that you just go with it; do not think about it to much!
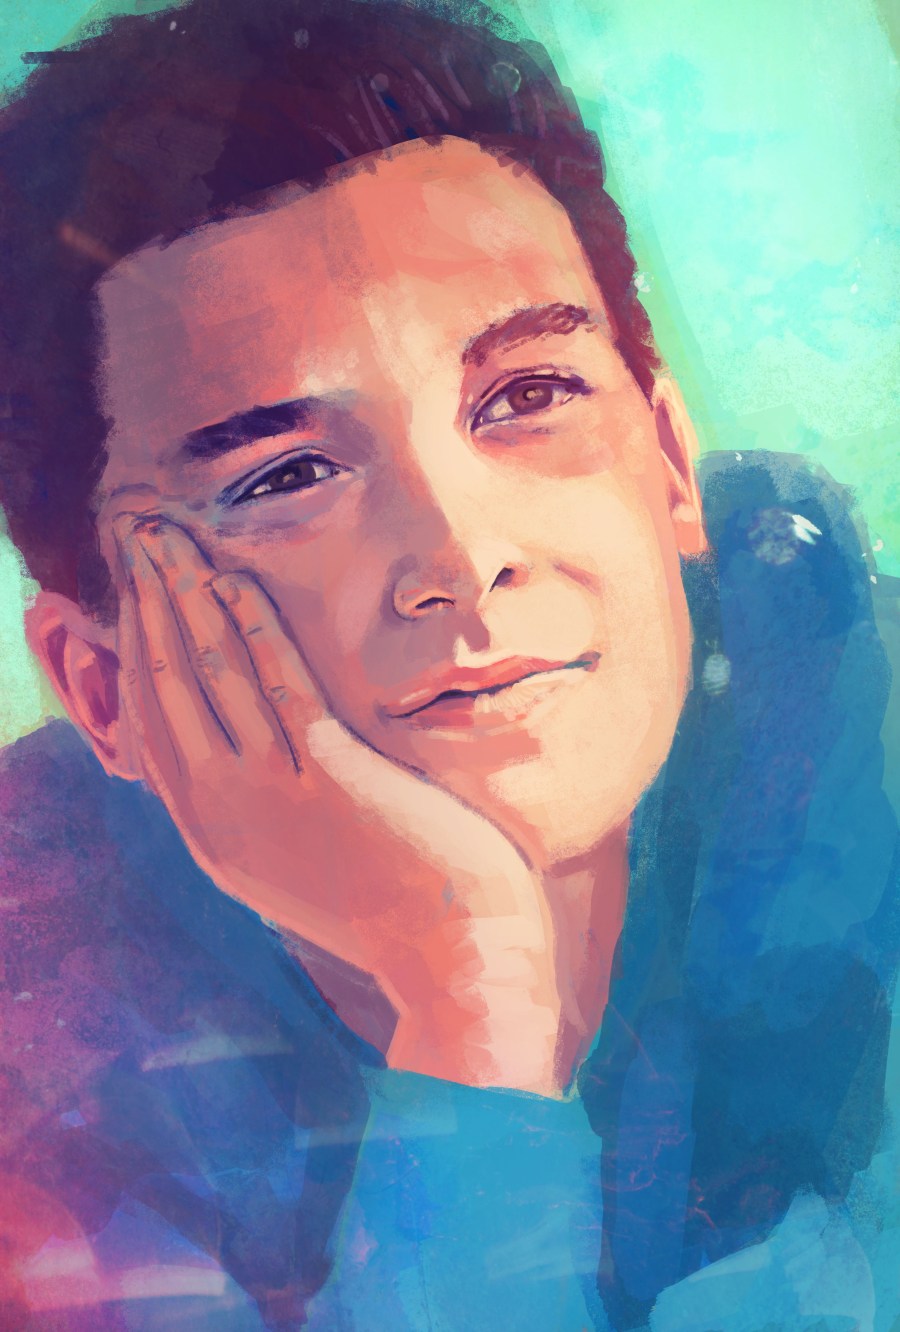
This was my final result:

I find the use of textures very helpful in composing exillerating and fresh artworks.
Let me know if this helps you!
Love, Eve

One thought on “Texture tutorial”