Hi cuties!
Lately, I have been drawing a lot of portrait studies to improve on my drawing skills. I made this tutorial to give you guys insight in my working process.
First of all, pick a picture to use as a reference photo. Usually, I search on Pinterest for reference pictures.
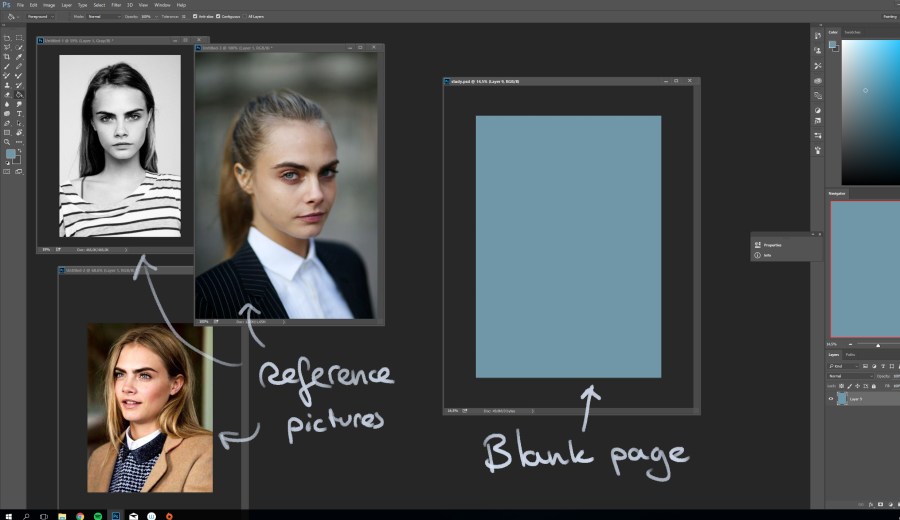
Pick a subject to draw (Cara Delevigne here as an example) and choose a suited picture to use as reference. Next to it, I open a large blank document (30cm x 42 cm in 300 DPI) and pick a muted colour ( I always opt for blue) as background.
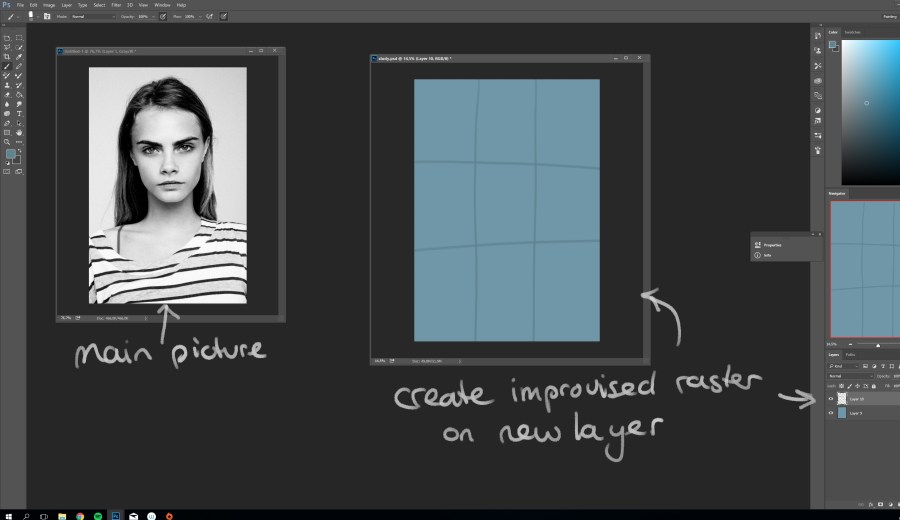
Once you have picked your reference photo, create an improvised raster on a new layer in the blank document. This helps set out your basic shapes and proportions.
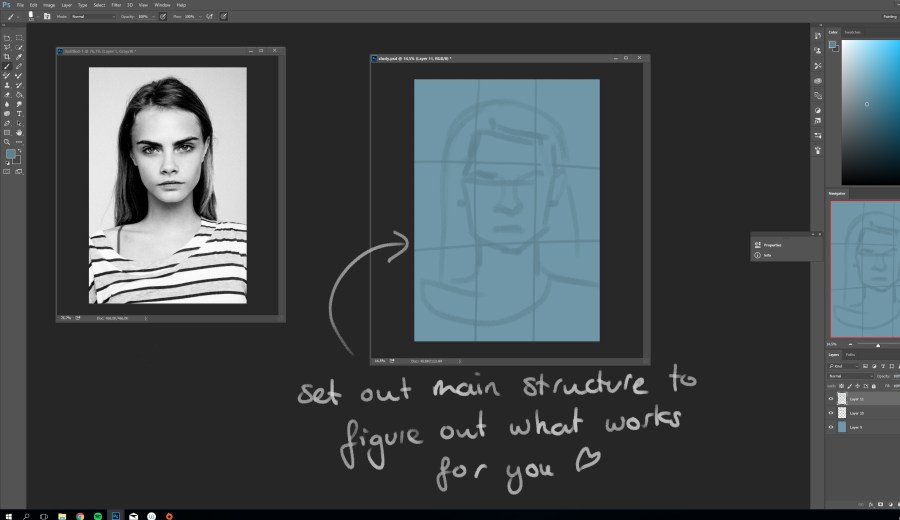
Before I set my timer, I lay out my basic lines to see where my outlines are going to be, otherwise I will be struggling to keep the drawing within canvas borders.
 Set you timer to 20 minutes and do not pay attention to the time! The first few times you will struggle to keep up with your set ‘deadline’, but the more you practice, the faster you get.
For tutoring purposes, I will post my set time to explain what I draw/do in the time given. 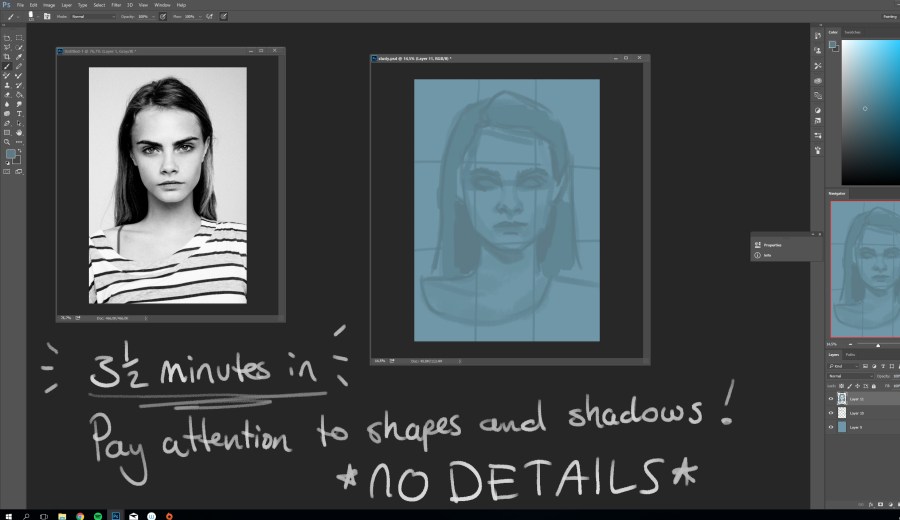
The first 3 to 4 minutes are important drawing your basic shapes and shadows. Highlights I usually add at the end, because they add more detail to a portrait. And given your time limit, I would recommend adding details at the end! Otherwise you could get preoccupied in drawing details, hence forgetting your 20 minute deadline 😉 .
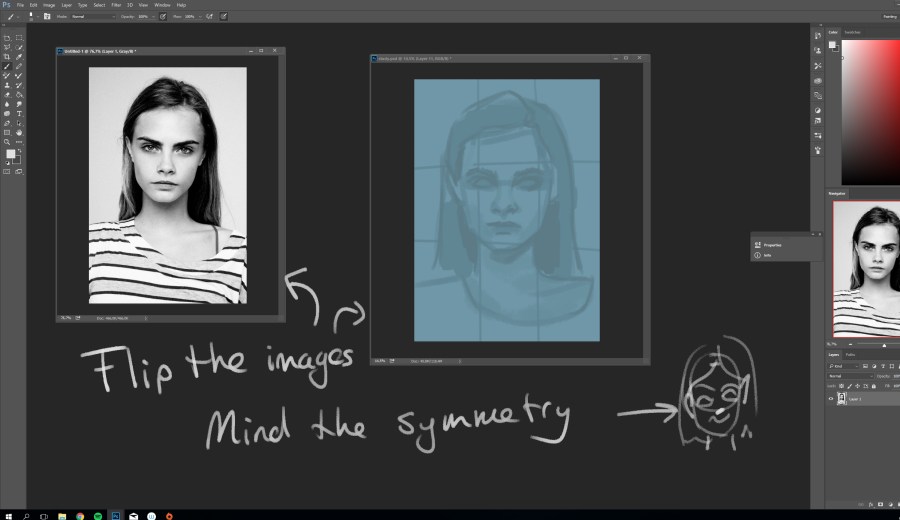
At this point I often flip my image to scan for any assymmetry I would otherwise overlook. Adjust these flaws for only a couple of minutes.
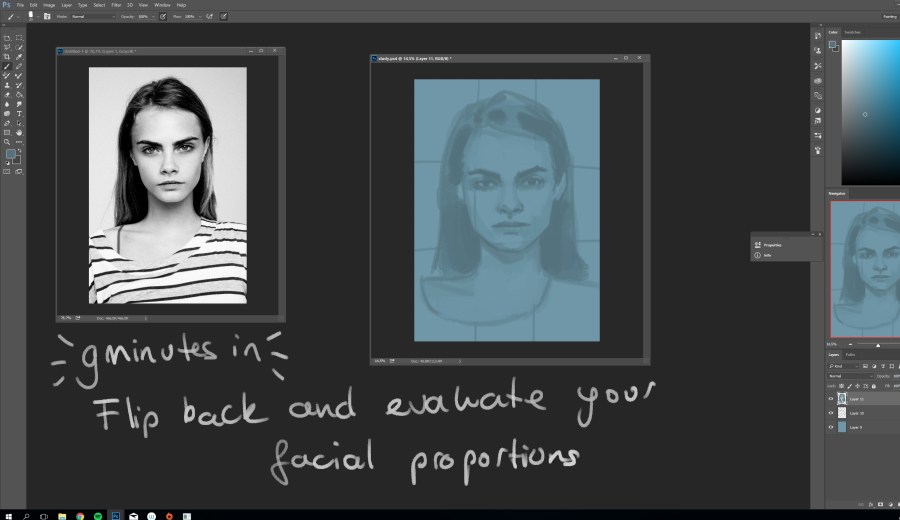
Flip you images back to the original lay-out and re-evaluate your facial proportions. At this moment I noticed that her face was a bit to wide.
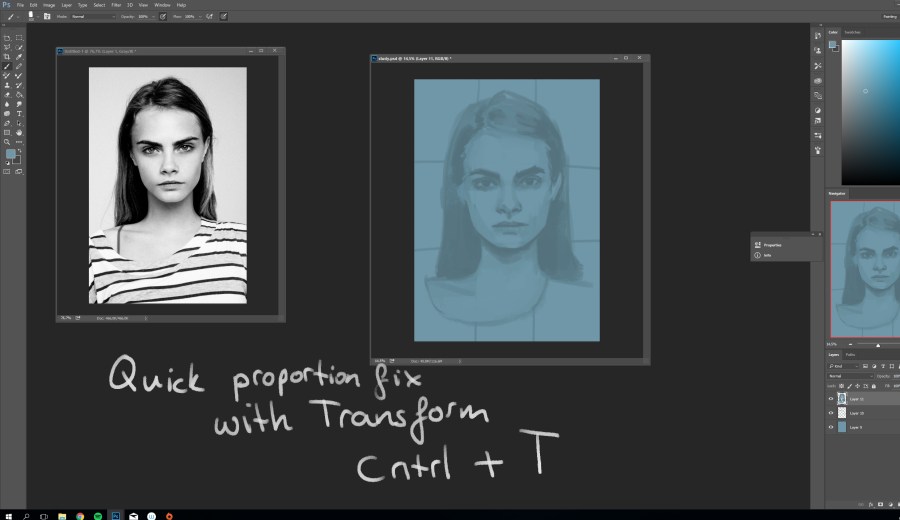
Quick fix with the transform function and keep on drawing! At this point I darken my shadows and start adding highlights. Do not think to much about it, just go with it. That timer is going to beep soon!
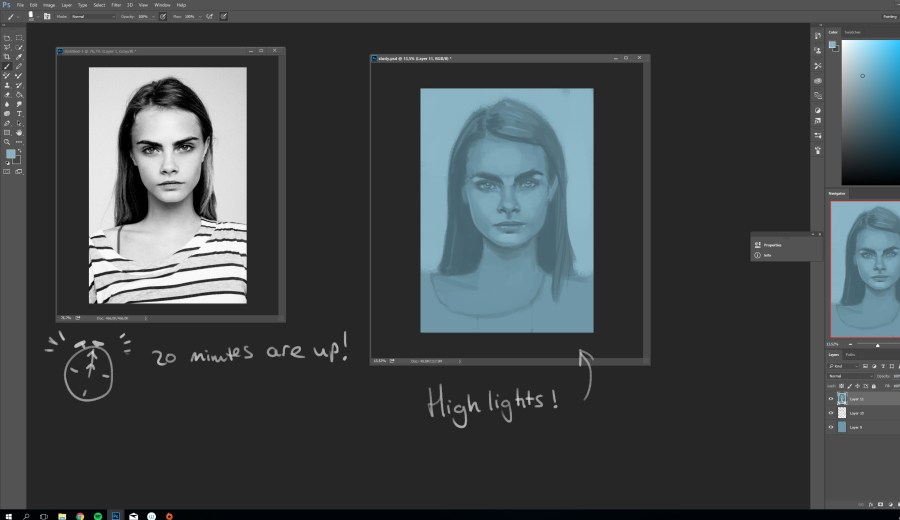
This was my result after 20 minutes. It is not perfect, but then again, it is not supposed to be perfect since it is a study! This is the way we learn, peeps. Just keep on drawing and drawing and practicing and studying…
For aesthetics sake, I edit my pictures just a little bit, as you can see in the image below.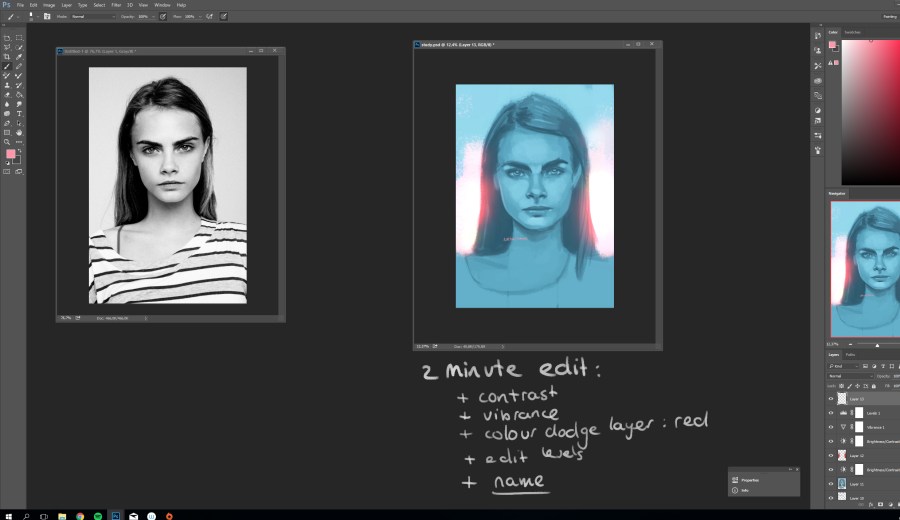
This does not take me more than 2 minutes; And I will add some more contrast, a colour dodge layer in a complementary colour, and some tweaking with levels and vibrance. That is it guys! Oh, and never ever forget to add your name.
Good luck with your studies! Would love to see yours 🙂
Love, Eve
